My name is Pete, I'm 34 years old from NW Illinois, I am addicted to lawncare and have been for over 10 years. From my first home(Pic of my oldest daughter in our first lawn in 2006),
![Image]()
to my second home(some double wides in 2013),
![Image]()
to my third home(Bewitched KBG reel mowed at 3/4" in 2015).
![Image]()
Every home I have progressively gotten more obsessed, and have learned alot along the way. So my wife and kids already know the drill, we buy a new home and now it's time for Dad to renovate the lawn again!
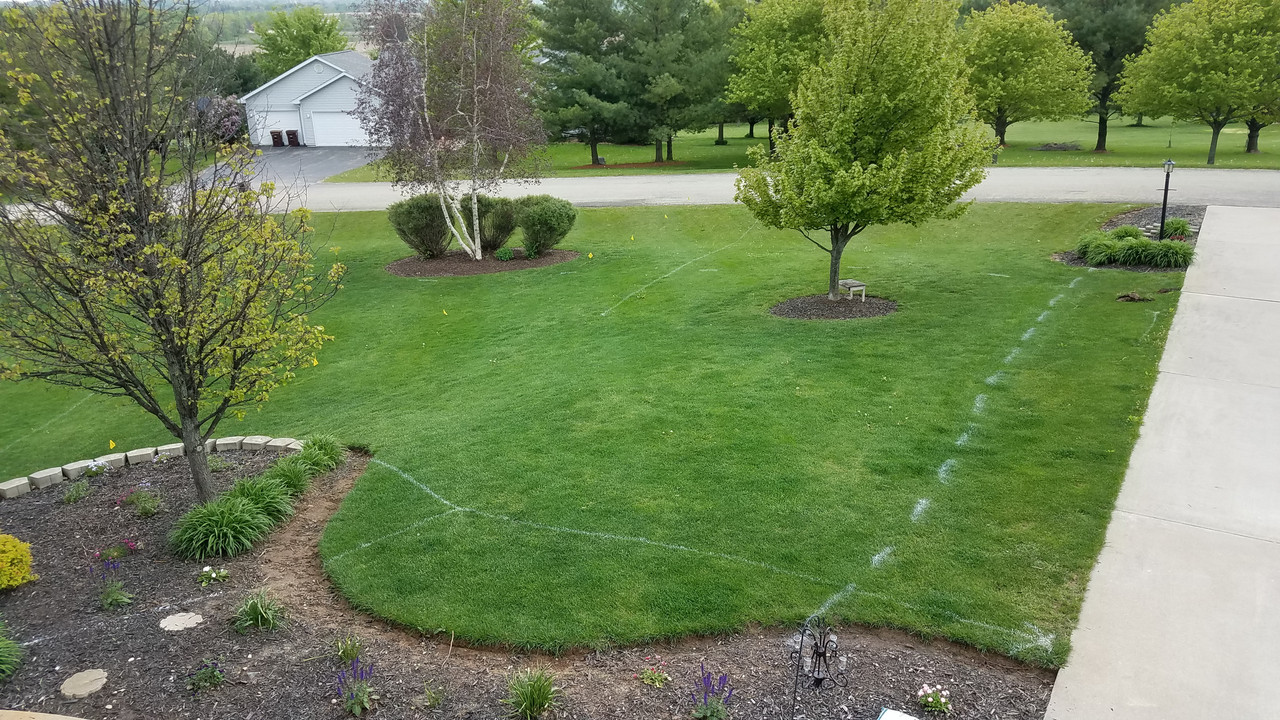
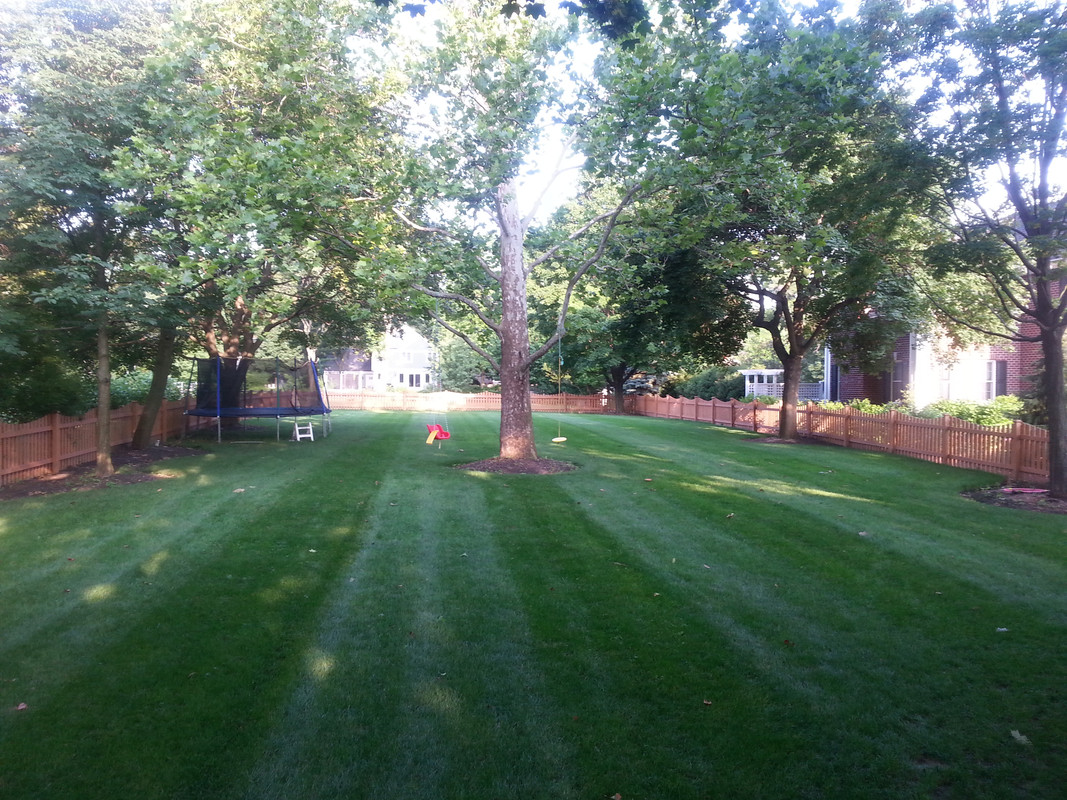
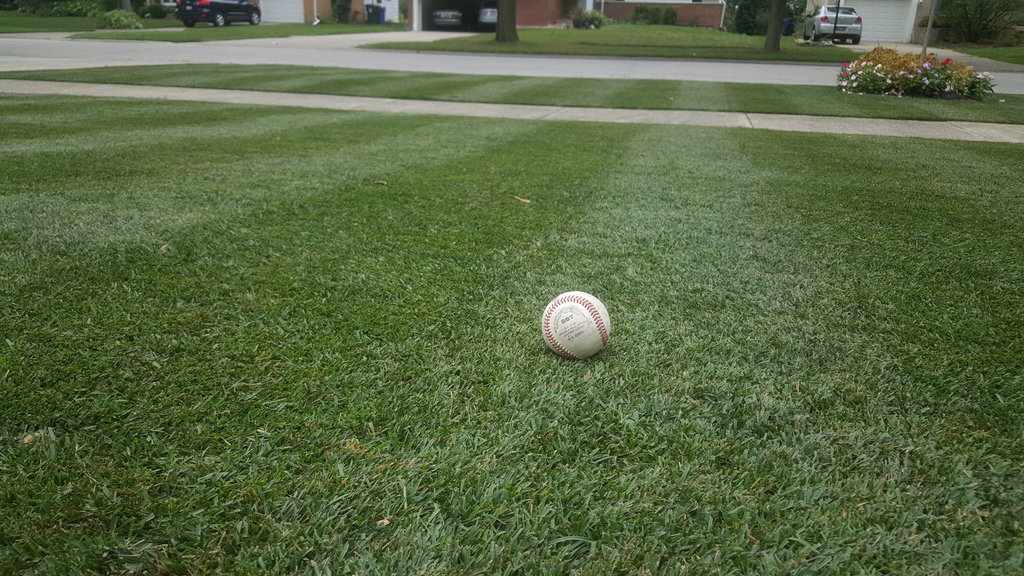
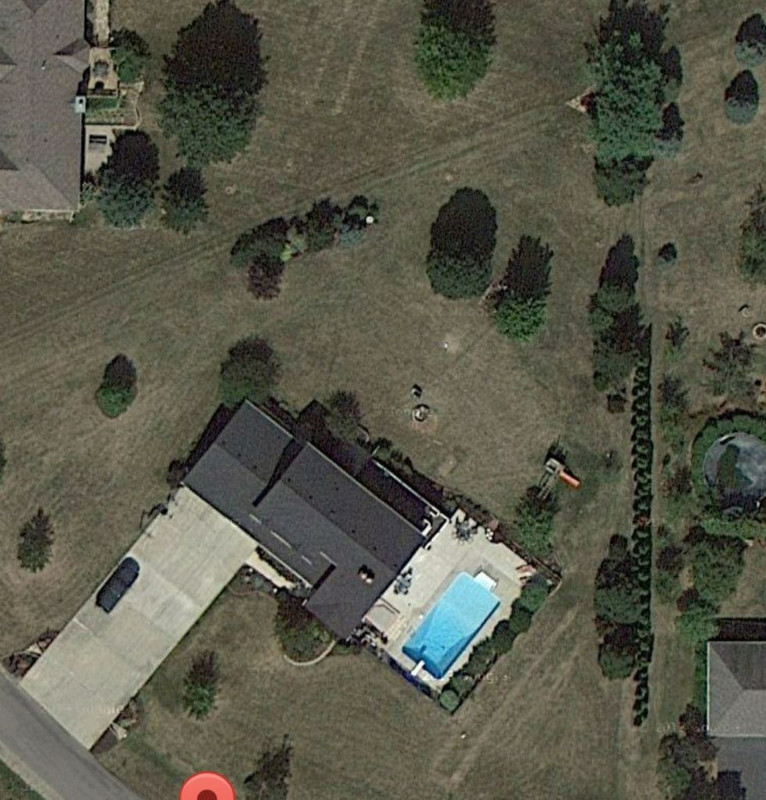
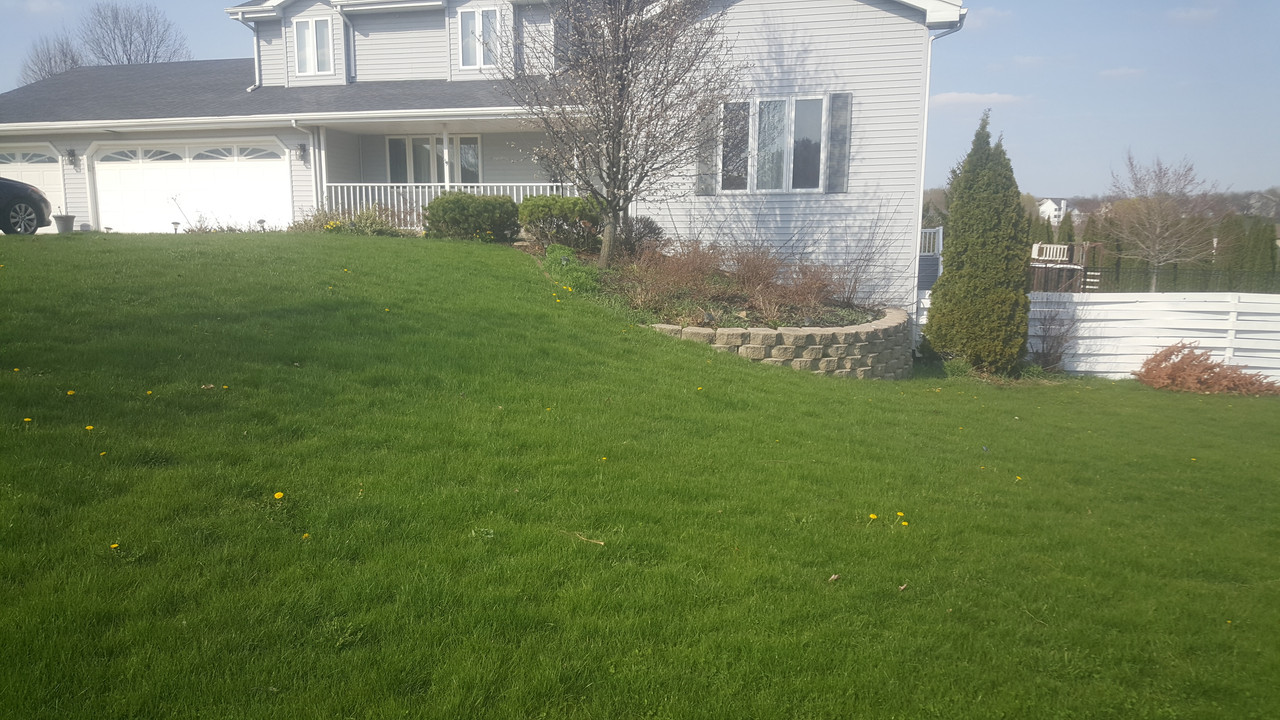
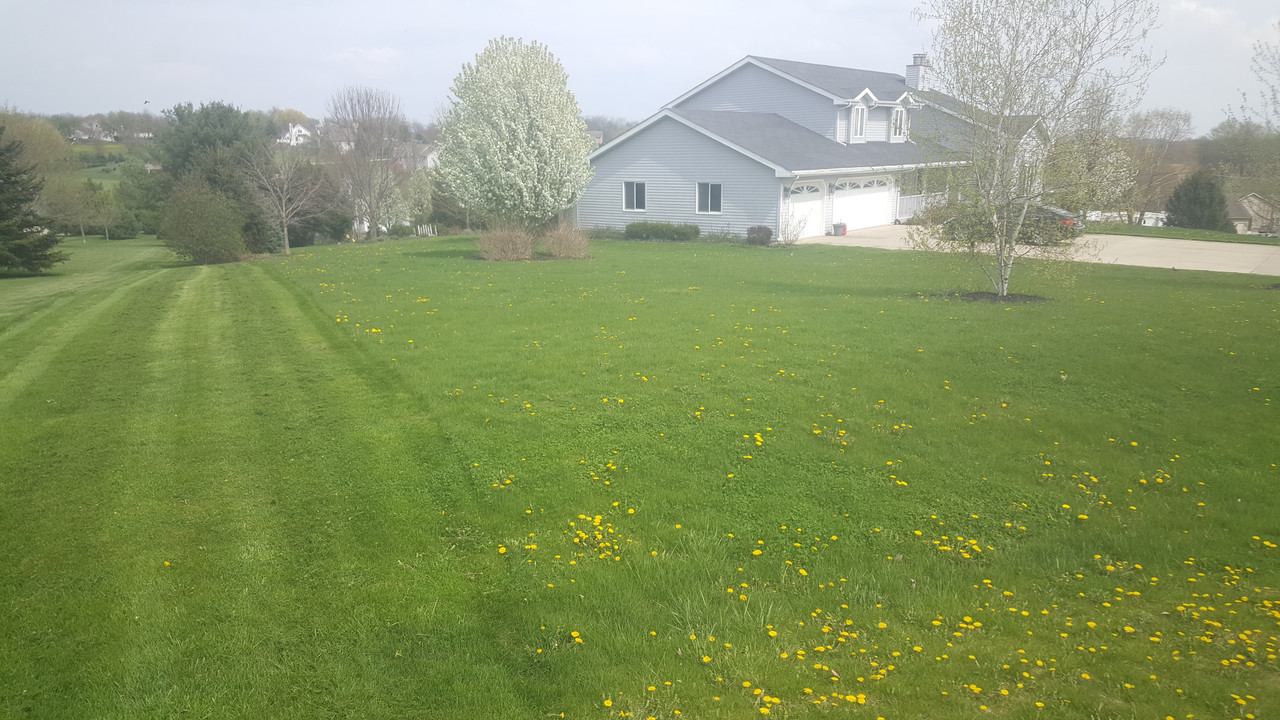
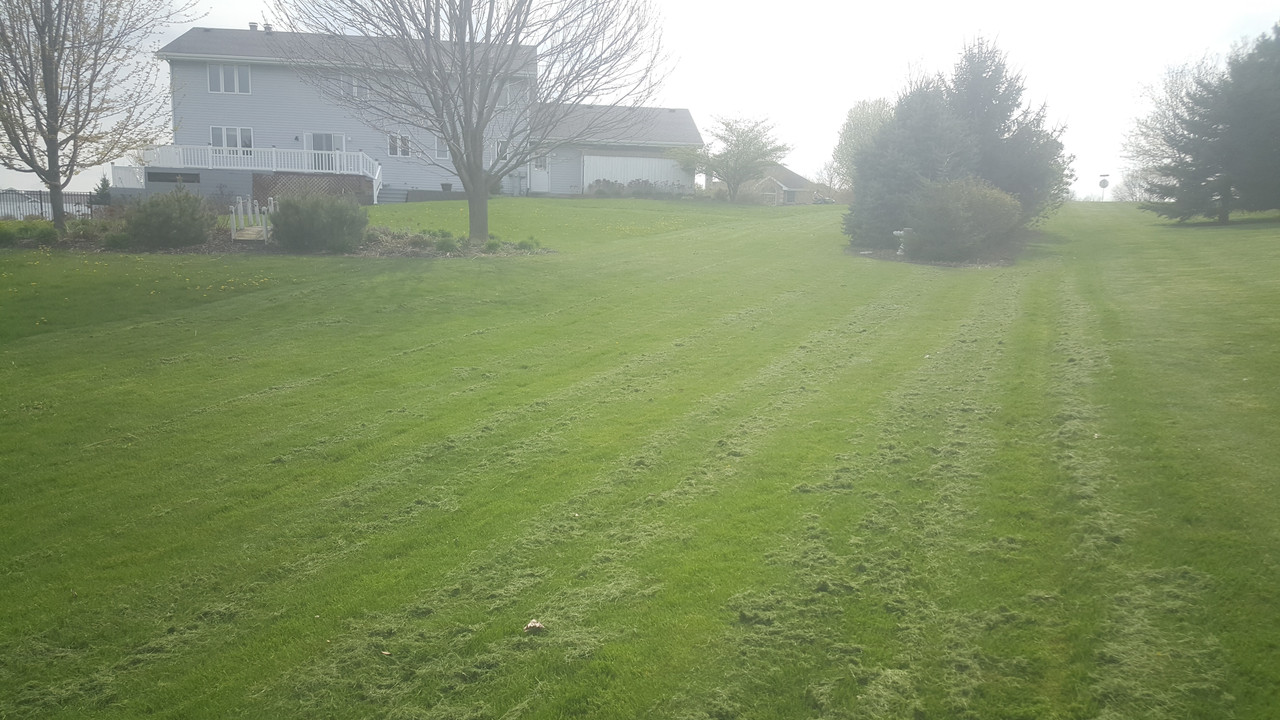
This chapter in lawn renovations will hopefully be it for a while(at least for my own lawn), as my family and I have settled in to make this our forever home. We purchased it in May of 2016 and sits on a triangle shaped 1.25 acres of which 38k sq ft is turf. (Pics from last year when we closed)
![Image]()
![Image]()
![Image]()
![Image]()
![Image]()
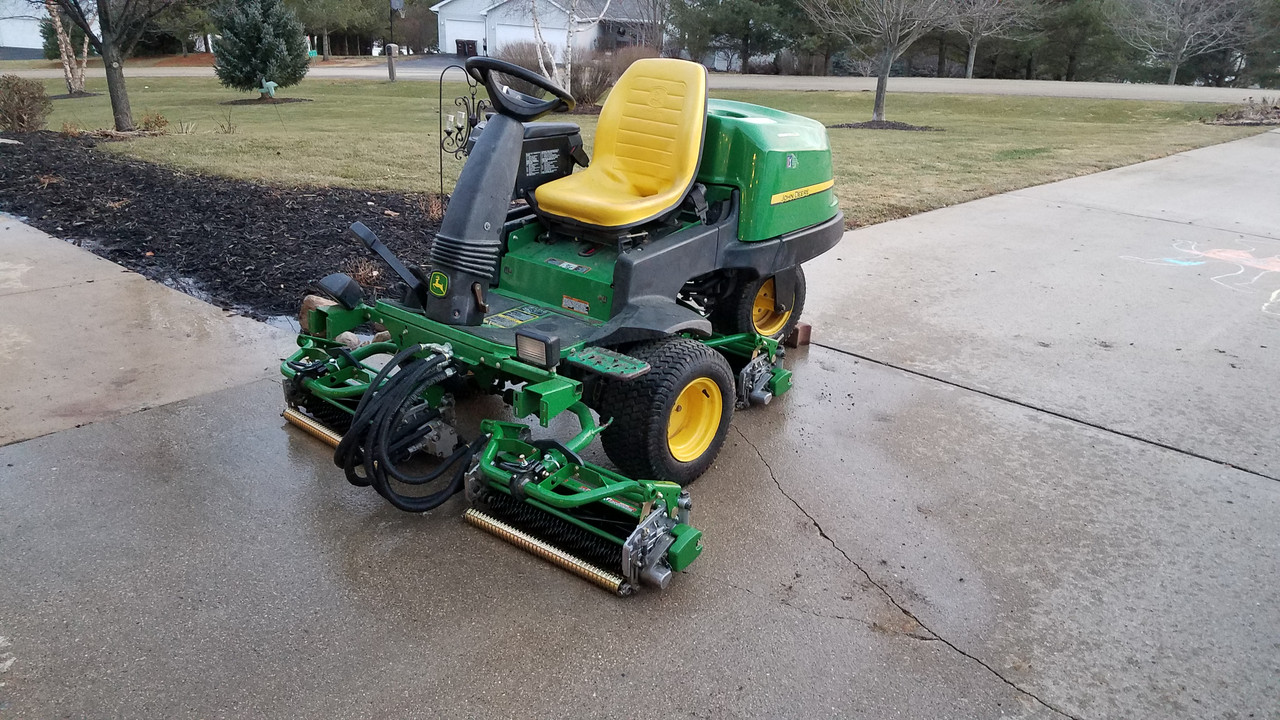
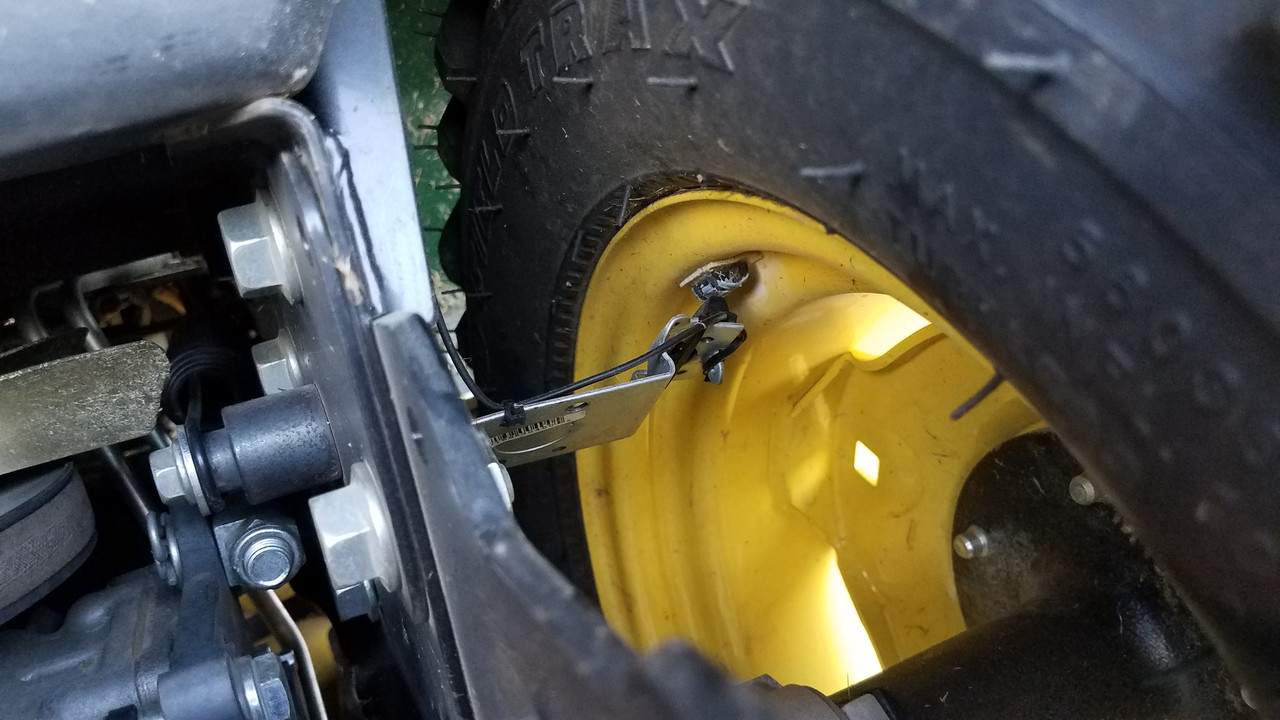
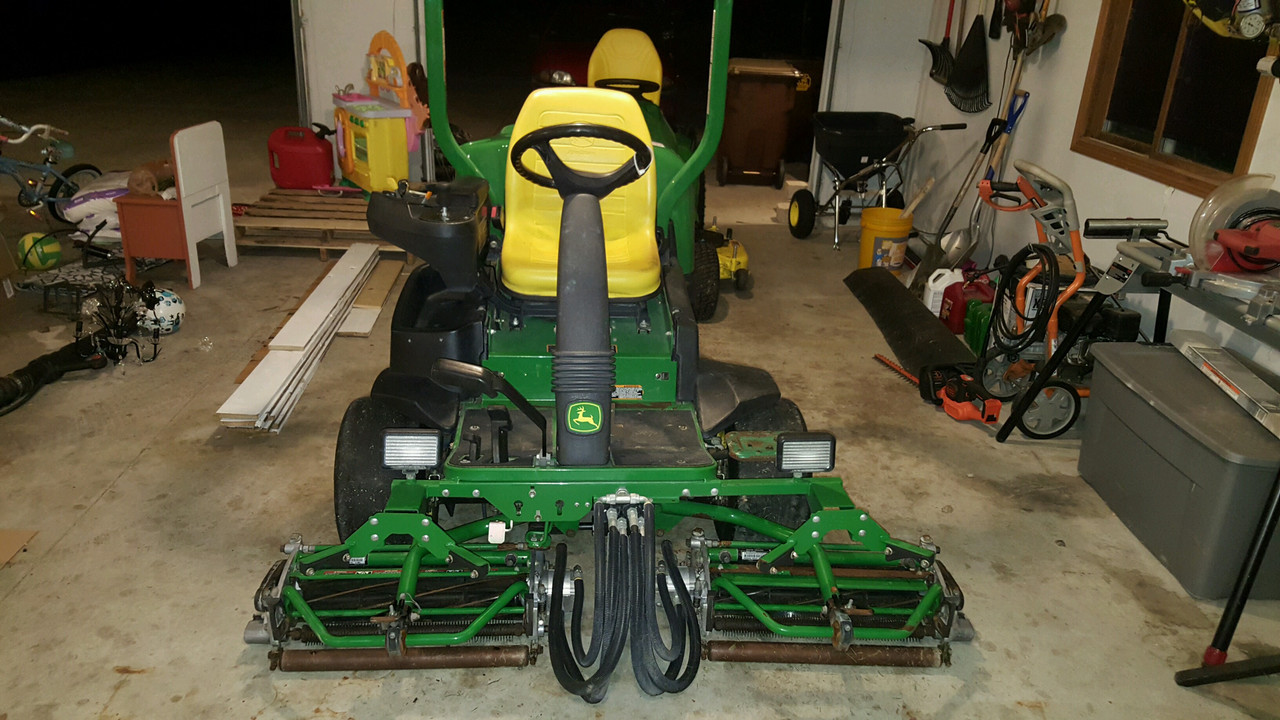
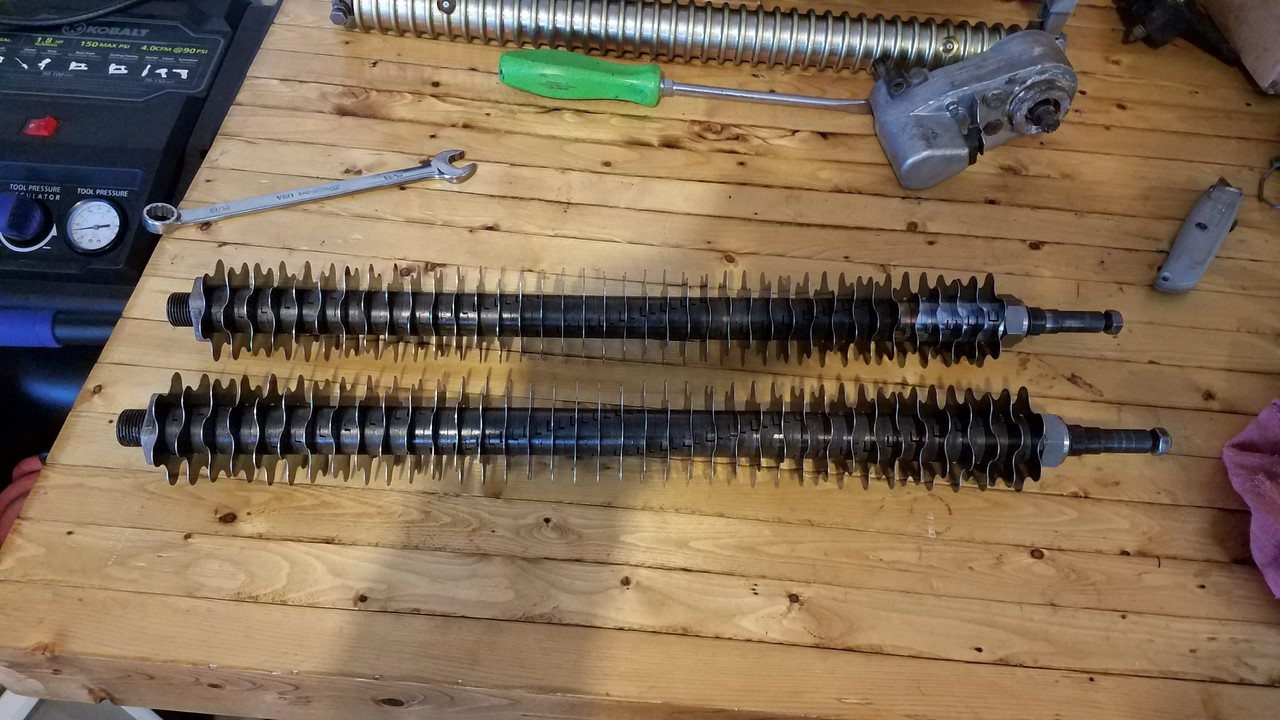
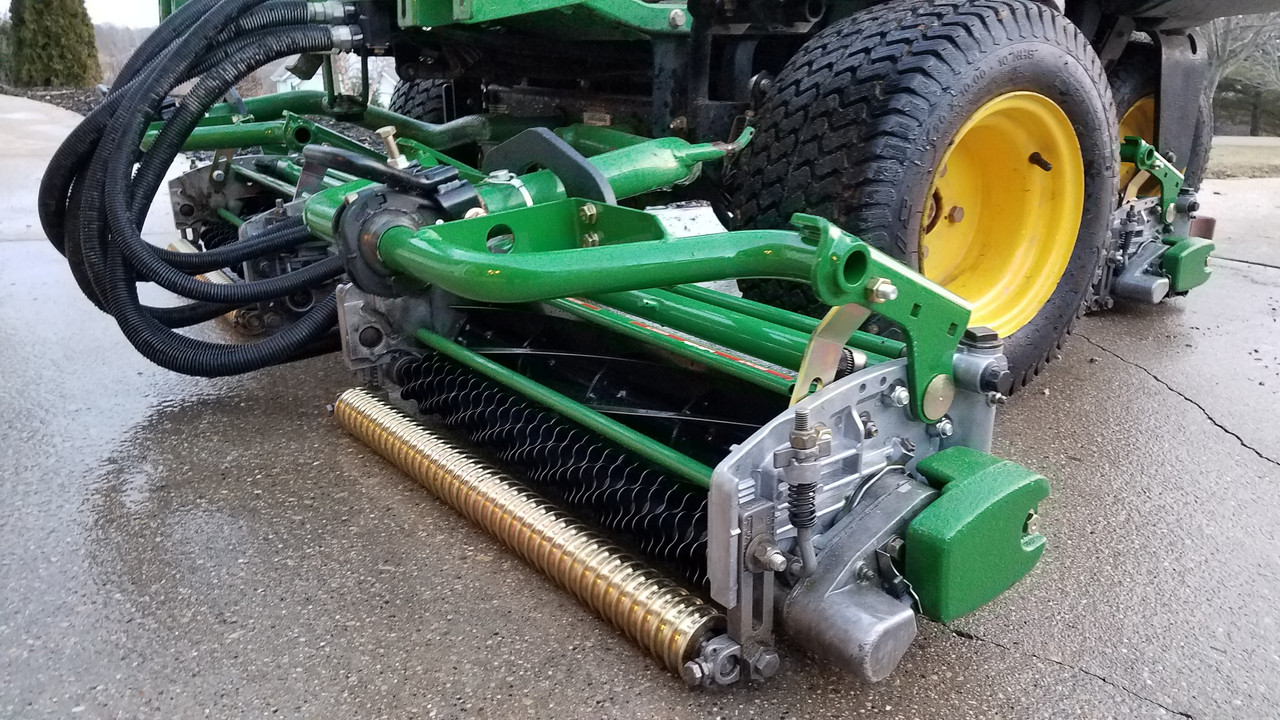
The plan is to renovate with a monostand of Bewitched Kentucky Bluegrass and maintain it at low heights of cut between .75-1"(possibly lower) with a John Deere 2500B triplex reel mower that i picked up last year.
![Image]()
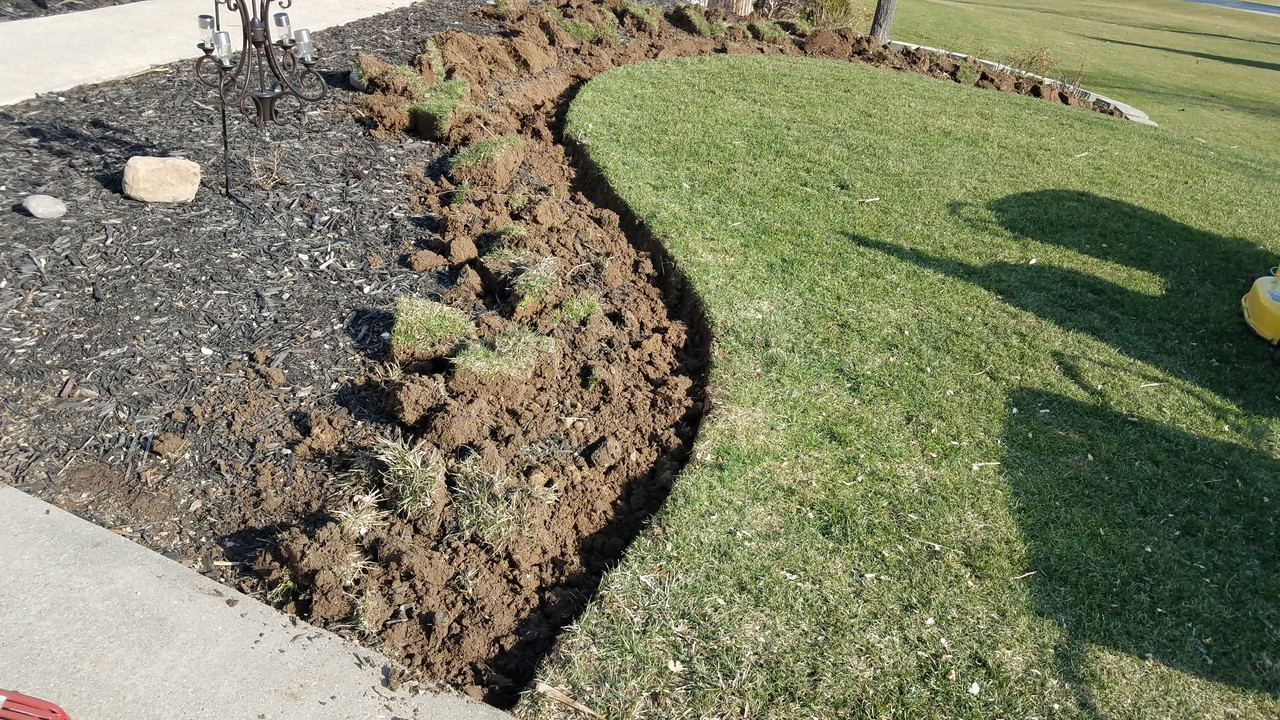
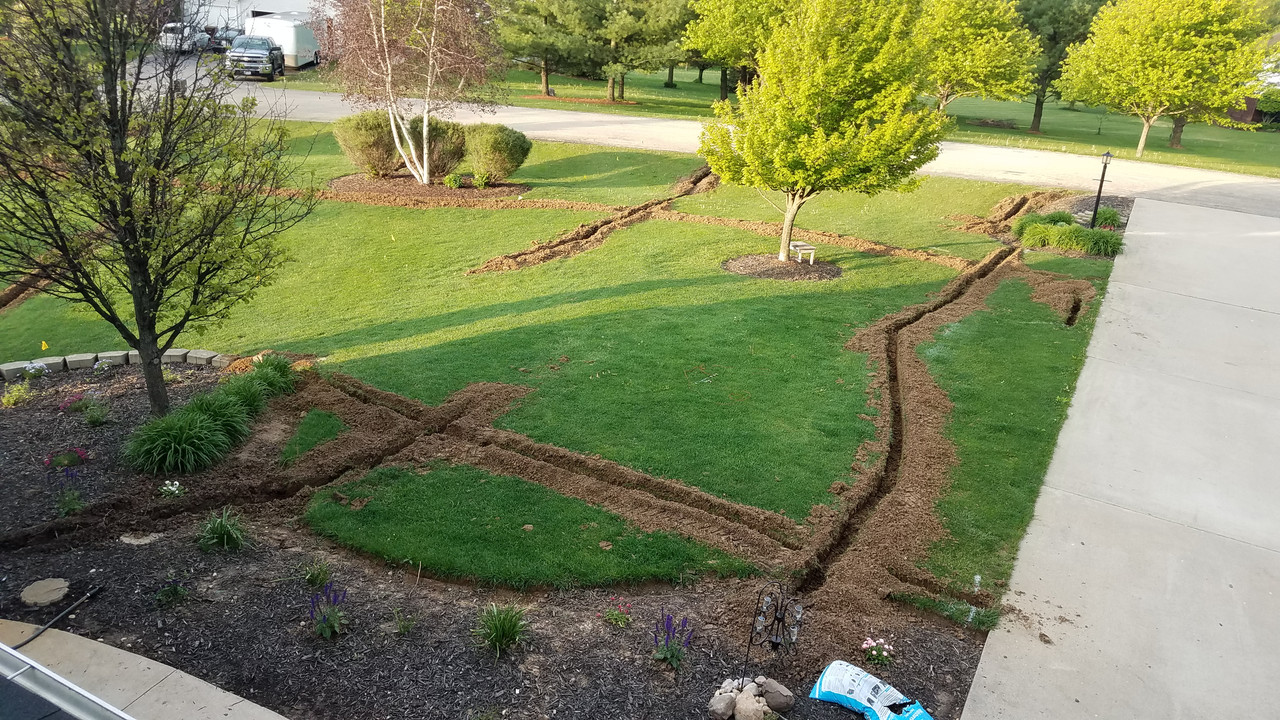
In a few posts later on tonight I'll go thru some of the steps I have done so far, both this year and last year to get to the point I am at today and then do progress updates as I try and transform an old Northern Mix to something remenesent of a cool season sports field.

This chapter in lawn renovations will hopefully be it for a while(at least for my own lawn), as my family and I have settled in to make this our forever home. We purchased it in May of 2016 and sits on a triangle shaped 1.25 acres of which 38k sq ft is turf. (Pics from last year when we closed)
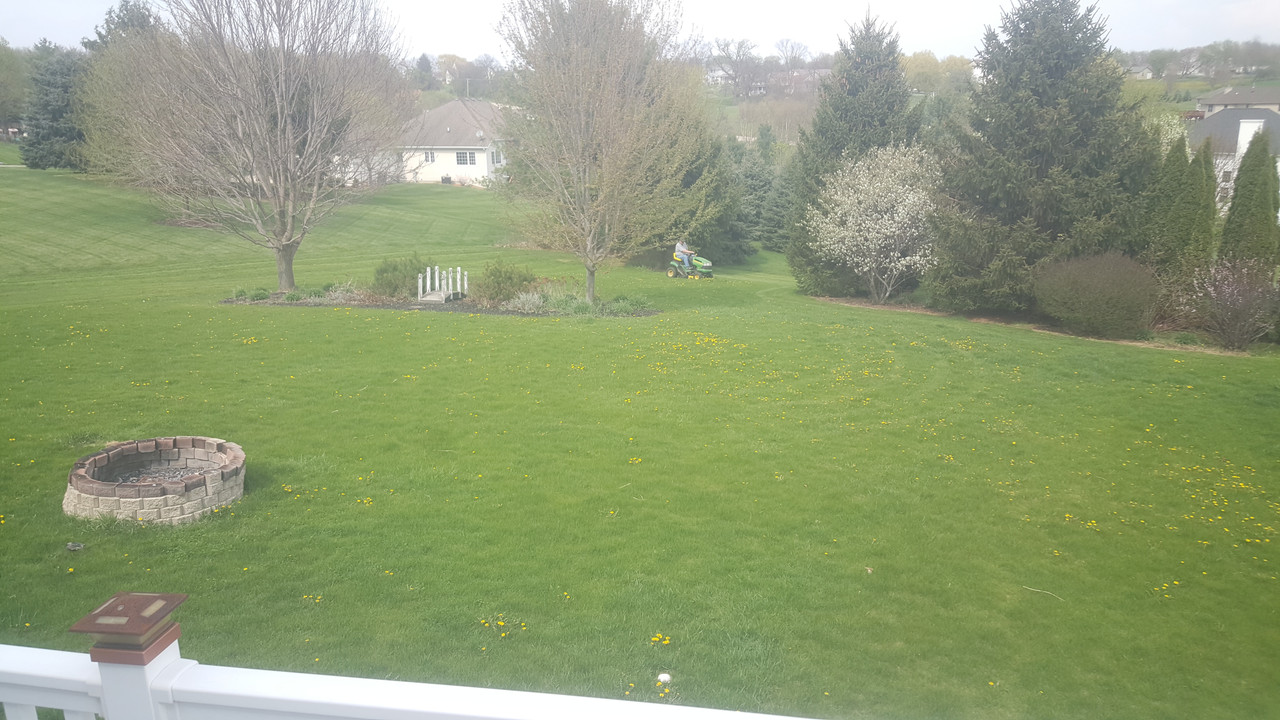
The plan is to renovate with a monostand of Bewitched Kentucky Bluegrass and maintain it at low heights of cut between .75-1"(possibly lower) with a John Deere 2500B triplex reel mower that i picked up last year.
In a few posts later on tonight I'll go thru some of the steps I have done so far, both this year and last year to get to the point I am at today and then do progress updates as I try and transform an old Northern Mix to something remenesent of a cool season sports field.


") )
)