Lawn Care Forum banner

Pete1313's 2019 Lawn Journal

1 reading
64K views 320 replies 49 participants last post by  Pete1313  
#1 ·
New year, new lawn journal. I figure since my lawn is not a renovation anymore, it is time to start a new journal to record some of the things I will be doing this year. To go back to the beginning, here is a link to my renovation journal.
Pete1313 Reel Mowed Bewitched Kentucky Bluegrass Renovation

This years focus will be on fine tuning cultural practices with a strong emphasis on water management. I also plan on doing more foliar fertilization with 40-50% of my nitrogen coming from sprayed urea.
 
#2 ·
It felt good to finally get out in the yard yesterday after a long winter, even if most of the day was spent picking up a winter's worth of dog poop. I also removed the snow stakes by the street and picked up any large sticks/debris. I then put down some gypsum between the street edge and drainage ditch to minimize any road salt damage. I had some salt injury last year and it set that area back alittle to start the season. Growing the grass right up next to the street is already a challenge, so hopefully no setbacks.

I cleaned up the garage alittle, and moved the mowers to their "ready" position in the garage.


Lastly, this was a rough winter here this past year with some record breaking cold temps and prolonged periods of ice and snow. The coldest air temp here was less than -30°F in the end of January.


As a result the lawn lost some of its green winter color this year, but in some interesting patterns. During one particular cold spell I noticed some the grass was exposed to the wind and cold temps and other spots were snow covered. Snow is a good insulator and the spots that were covered have more green. Here are some pics to hopefully show what I mean. See if you can tell where the snow was and wasn't.


Lastly, some of the most heavily trafficked spots by the dogs are obvious in early spring as they lose their color as well. Here is a pic of some color loss by the fence that they would stay along when there was alot of snow.


I'm not too worried about any of the color issues and they should be a distant memory in a month. I can't wait to get out in the yard some more and hopefully the weather cooperates. I plan on getting the cutting units cleaned up and ready to go this week at work, and then do all the rest of the preventative maintenance on all the other equipment next weekend.
 
#4 ·
It is interesting to see, especially in the fairly straight line next to the drainage ditch. You can look at that picture and tell exactly where the snow line was at one point in January/February.
 
#8 ·
Pete1313 said:
@g-man, I have faith! That is why I removed the snow stakes! No other place to put it, so that is where it stays all year. :)
Mine is located at the front of my garage too, for the same reason. However, I have only one bay and an 18" wide path to squeeze through next to my snowblower to get out of the garage. I think my excuse holds water, but not so sure about yours. Lol. Happy Spring! Let's hope it's here to stay.
 
#9 ·
Chris LI said:
I think my excuse holds water, but not so sure about yours. Lol. Happy Spring! Let's hope it's here to stay.


Pardon the mess, but this is the back wall of the garage. There is not too much room to store stuff back there. Between where the mowers are currently and the cabinets I end up storing the fertilizer and amendments. On the other side of the garage my wife and daughter's cars get parked. Unfortunately now that spring is here, it means my truck gets parked outside for the season and the mowers get the third garage spot. In winter I move the mowers back by the cabinets/work bench so I can squeeze the truck in the garage. Either way, the snow blower finds it's nice cozy spot there all year. Hopefully it stays there until next winter! :D

Happy Spring! I agree, let's hope it is here to stay! :thumbsup:
 
#13 ·
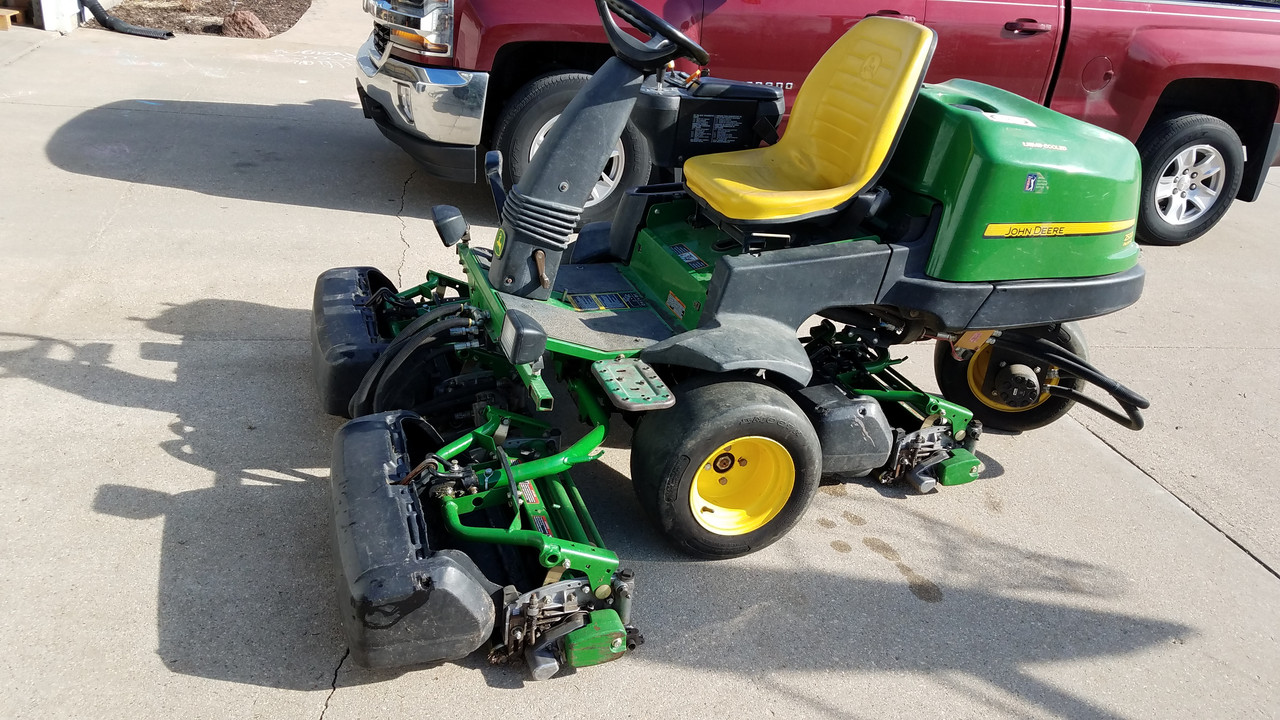
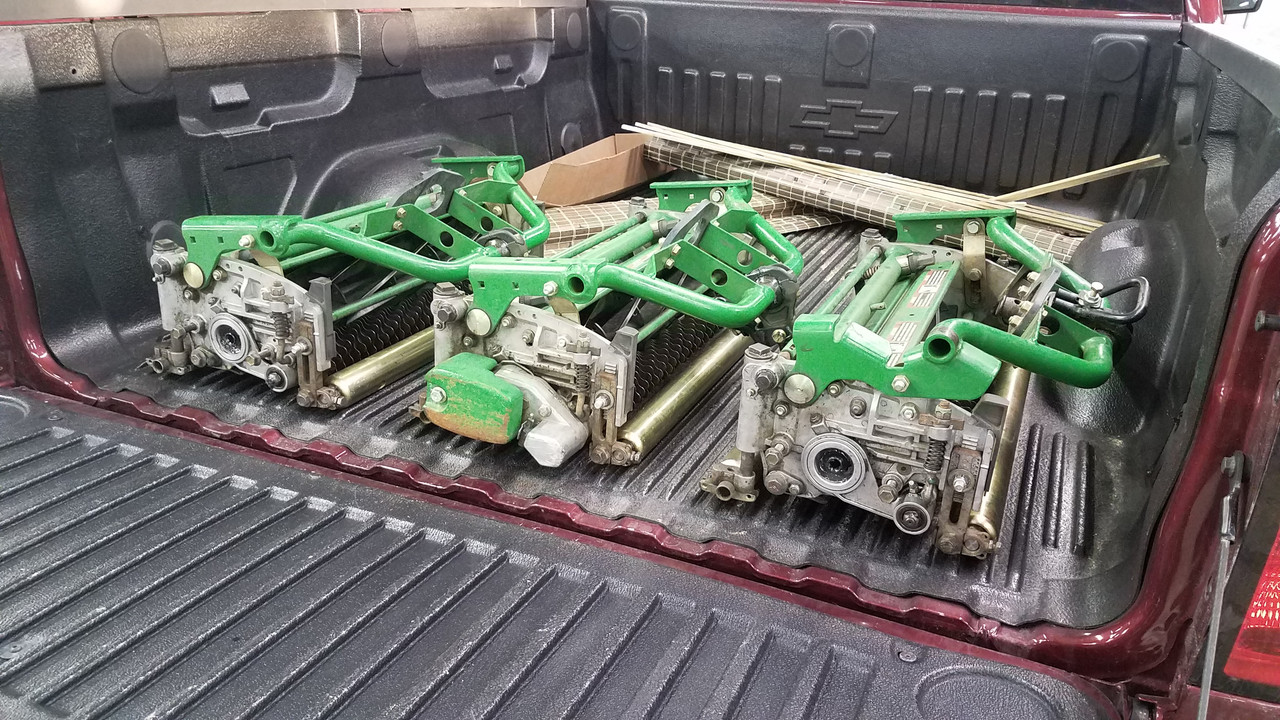
First round of equipment maintenance was yesterday, so I brought the cutting units to work to get them tuned up for the season.


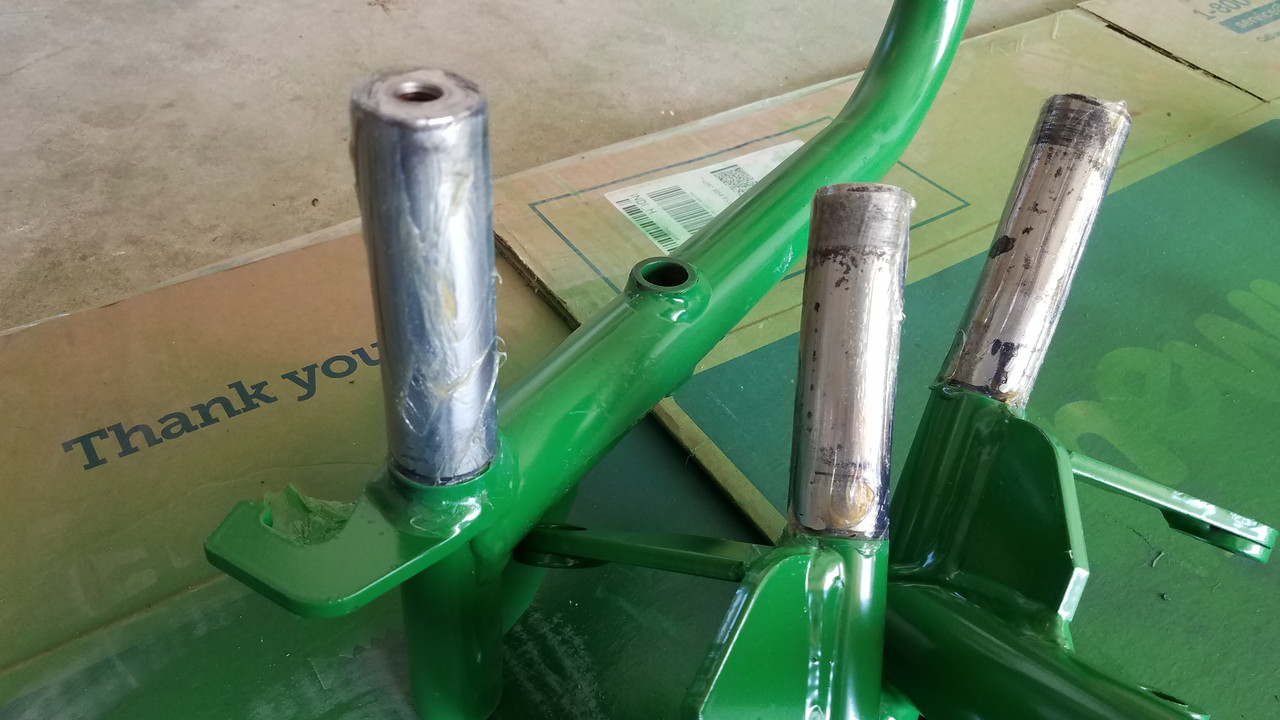
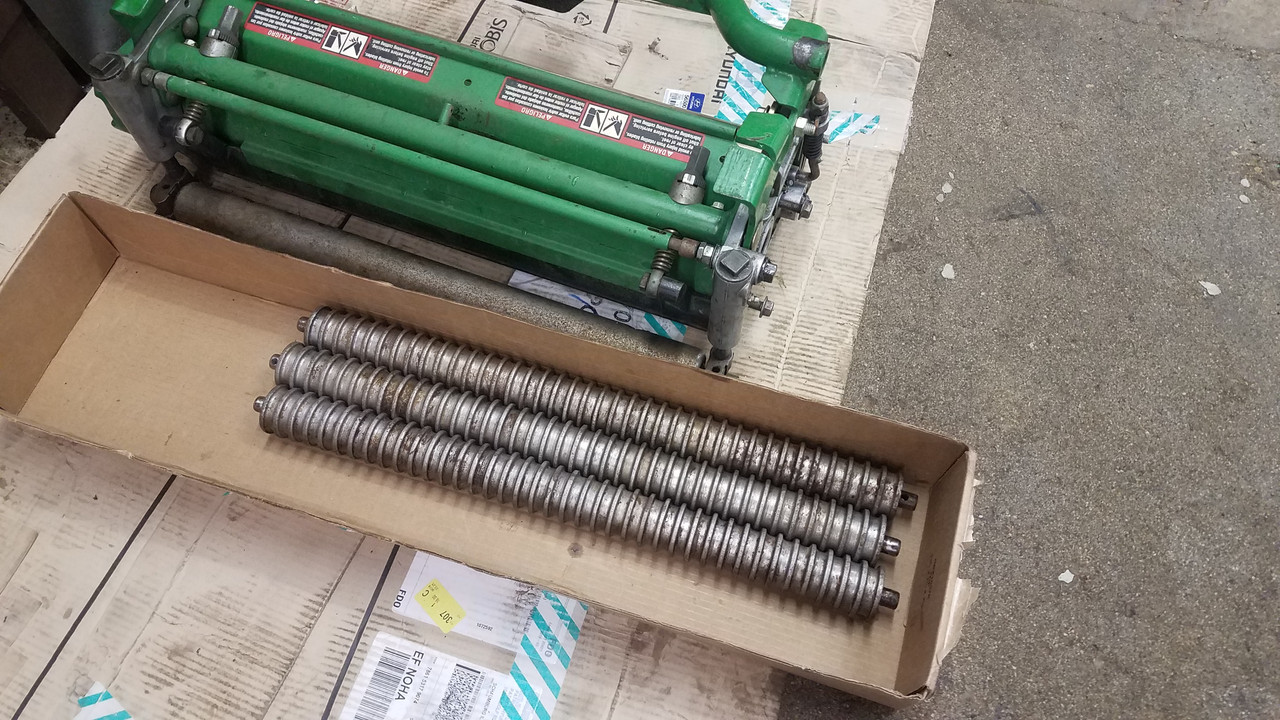
I'm going to run solid smooth front rollers to start the season. I picked up a set from RRproducts, but before I could install them I needed to replace a snapped off lock bolt on one of the front roller brackets.


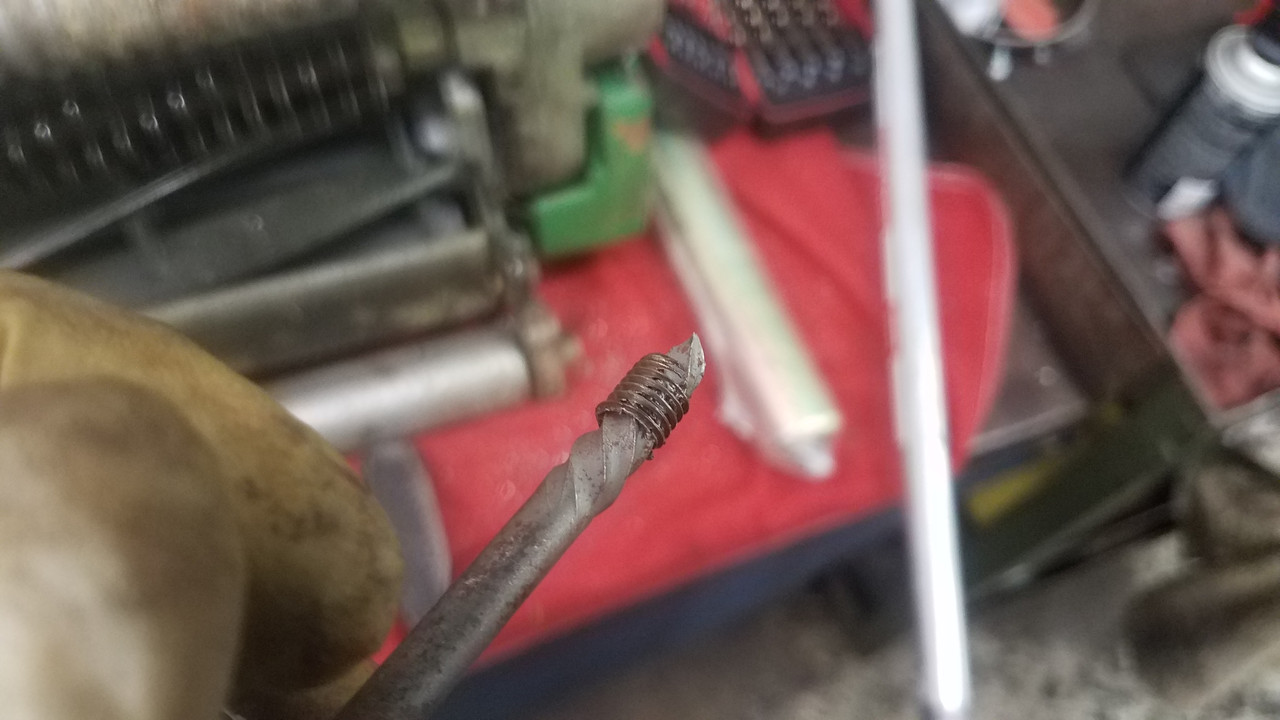
I drilled it out and used an easy out to remove the remaining part of the bolt.


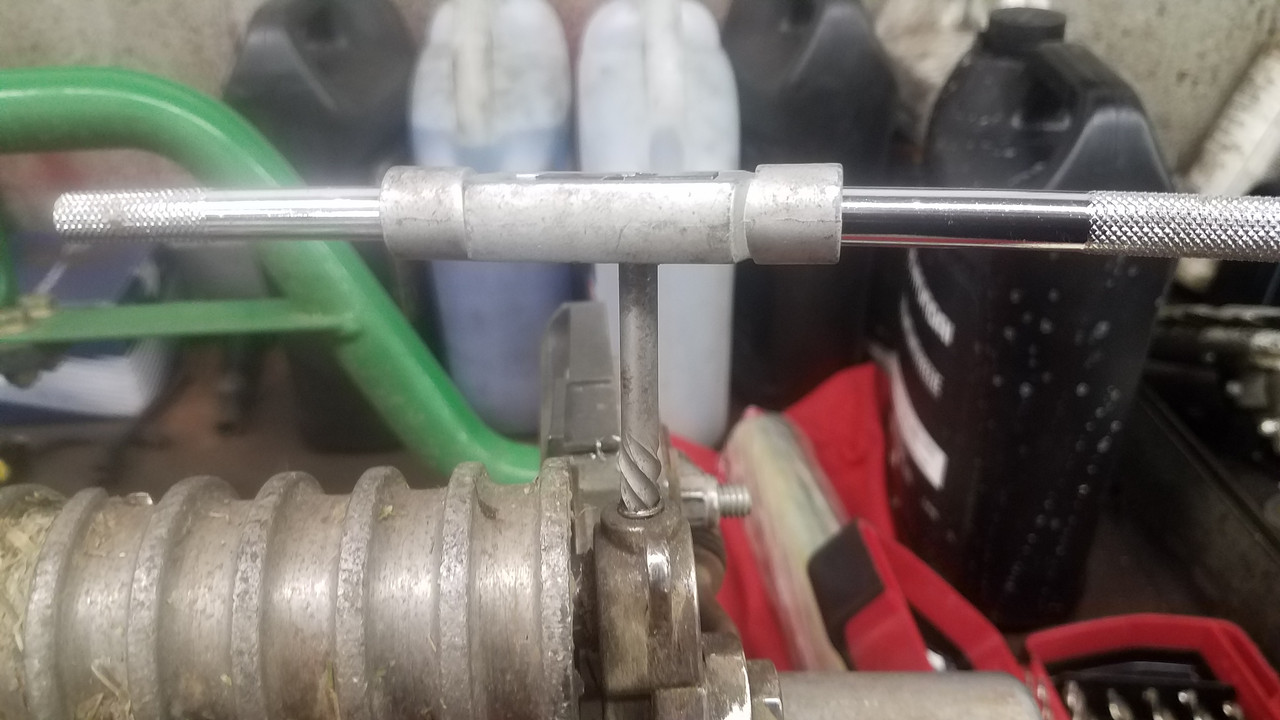
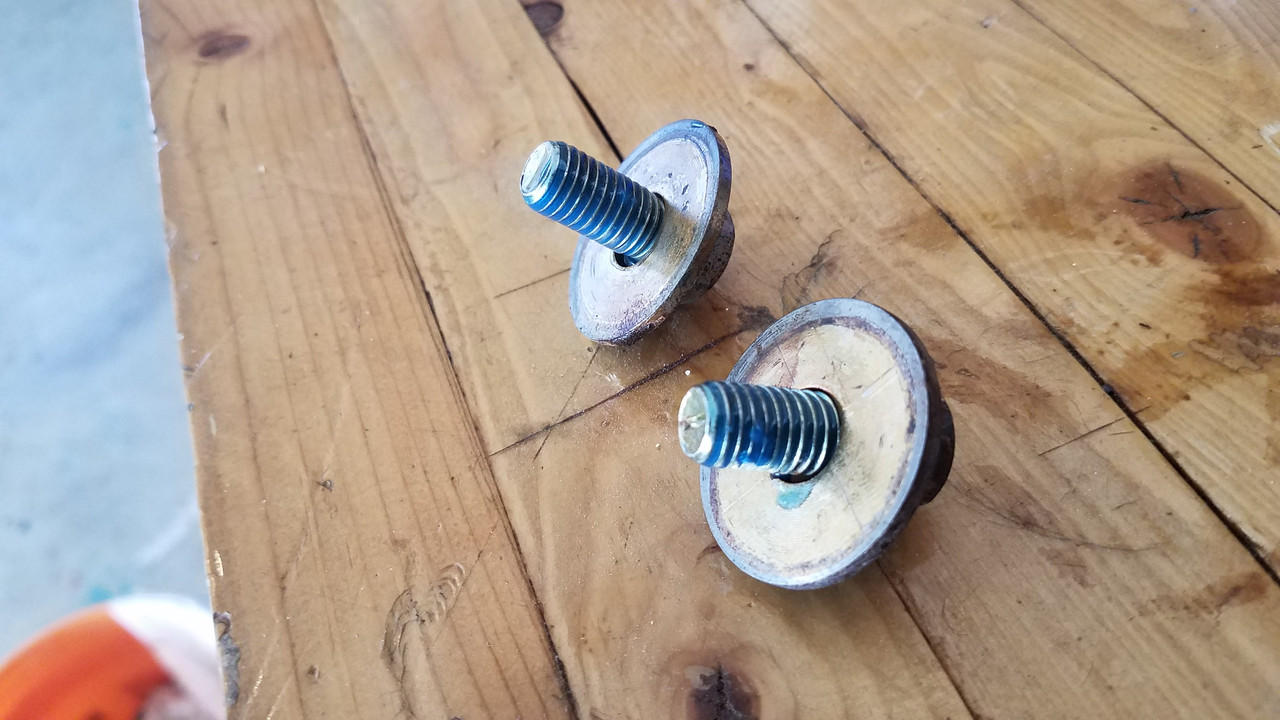
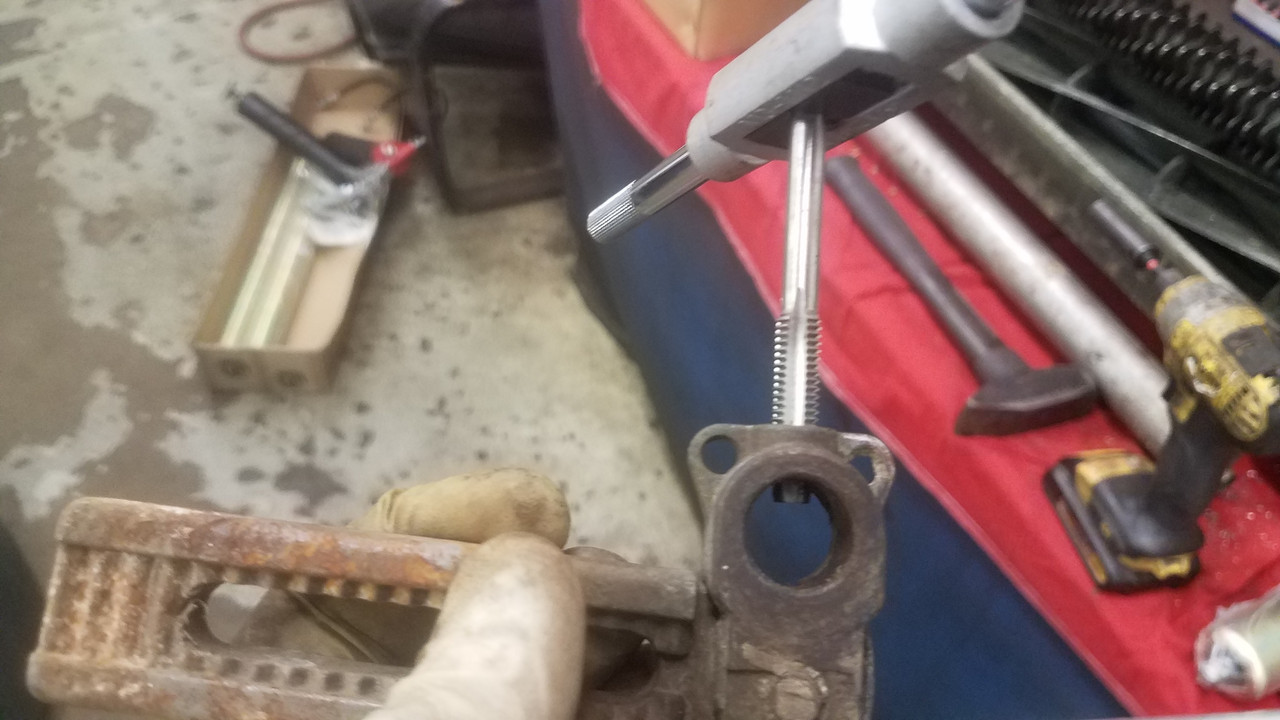
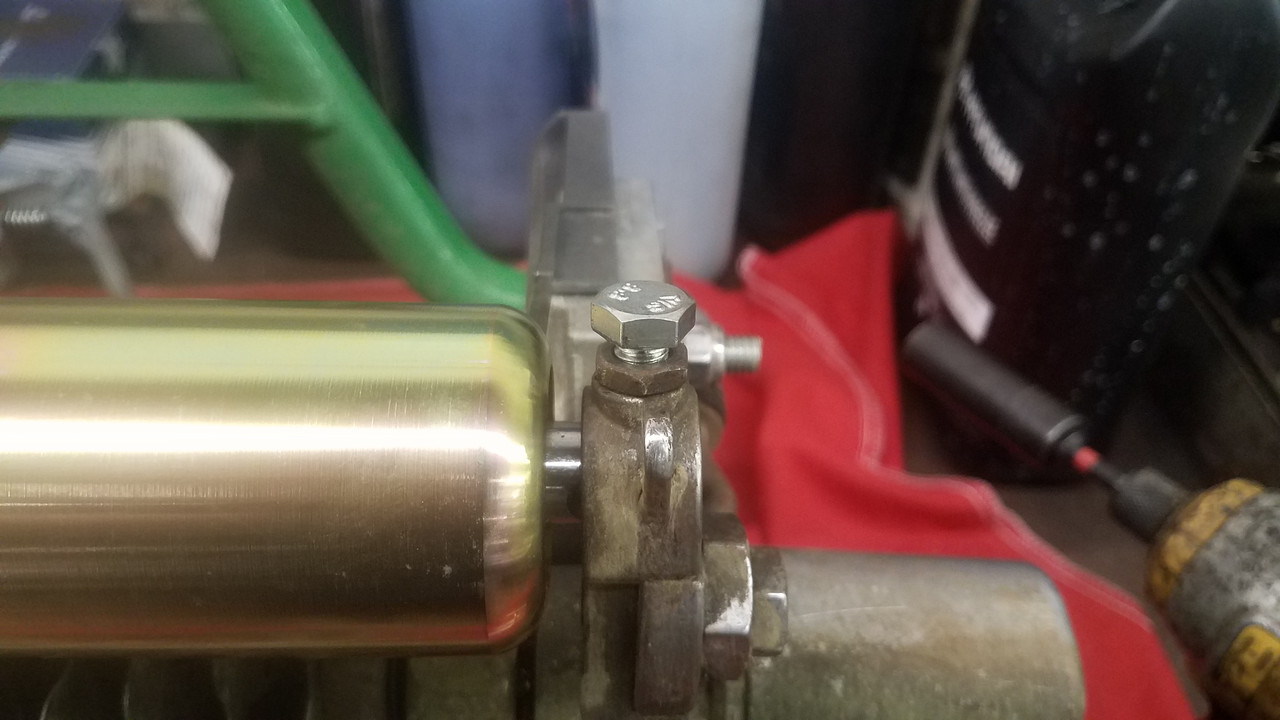
Ran a tap thru the old threads and installed the new bolt.


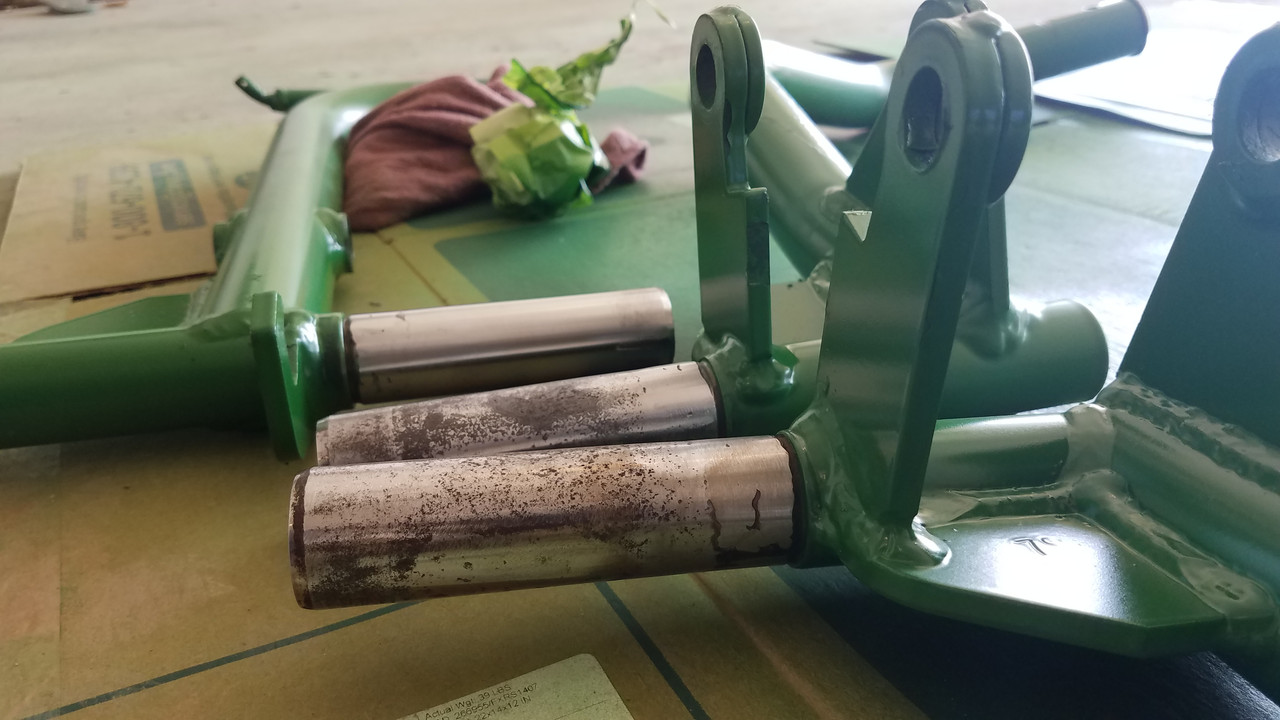
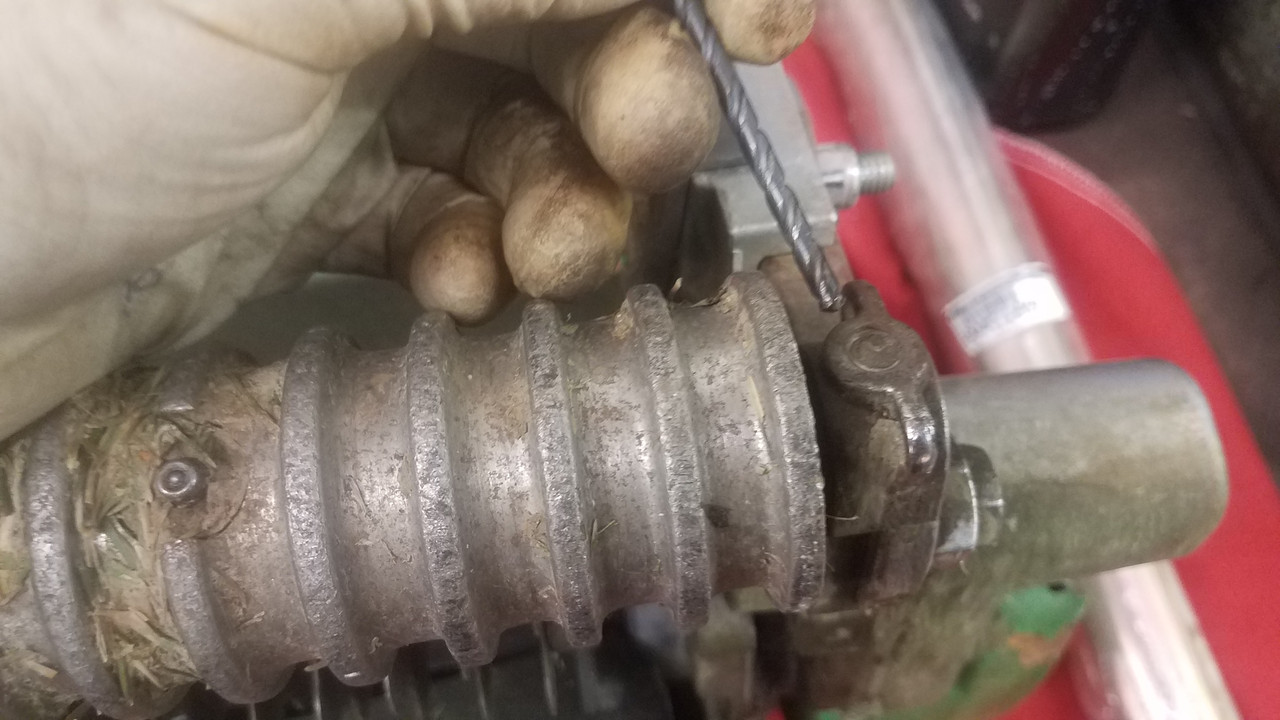
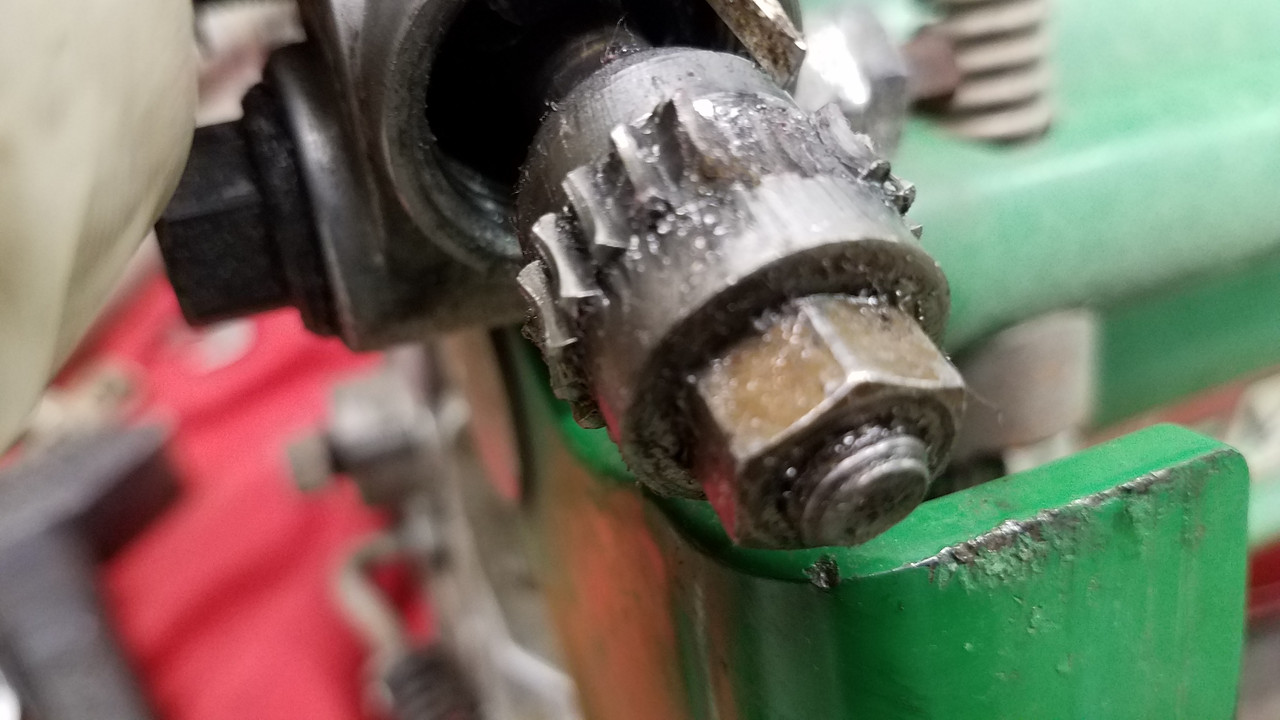
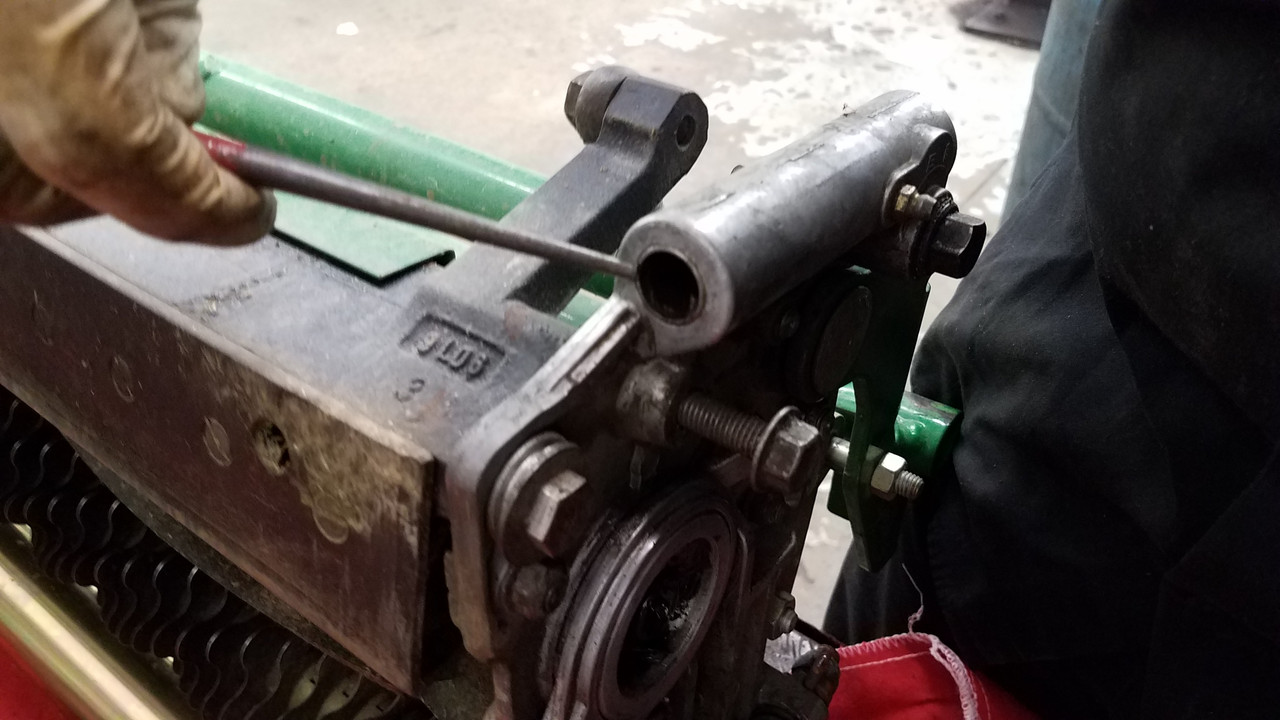
I then began working on the rear roller section of the cutting unit. I had a broken worm gear on one side of the rear cutting unit. I removed the top cap,


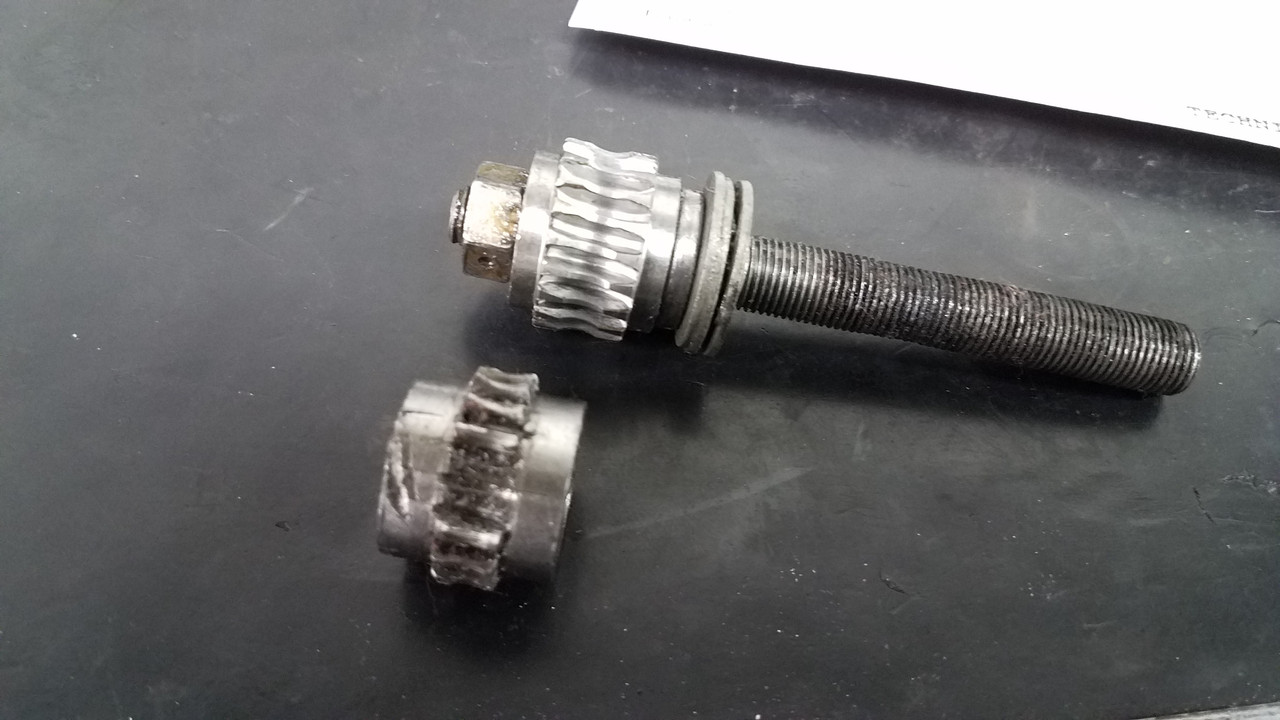
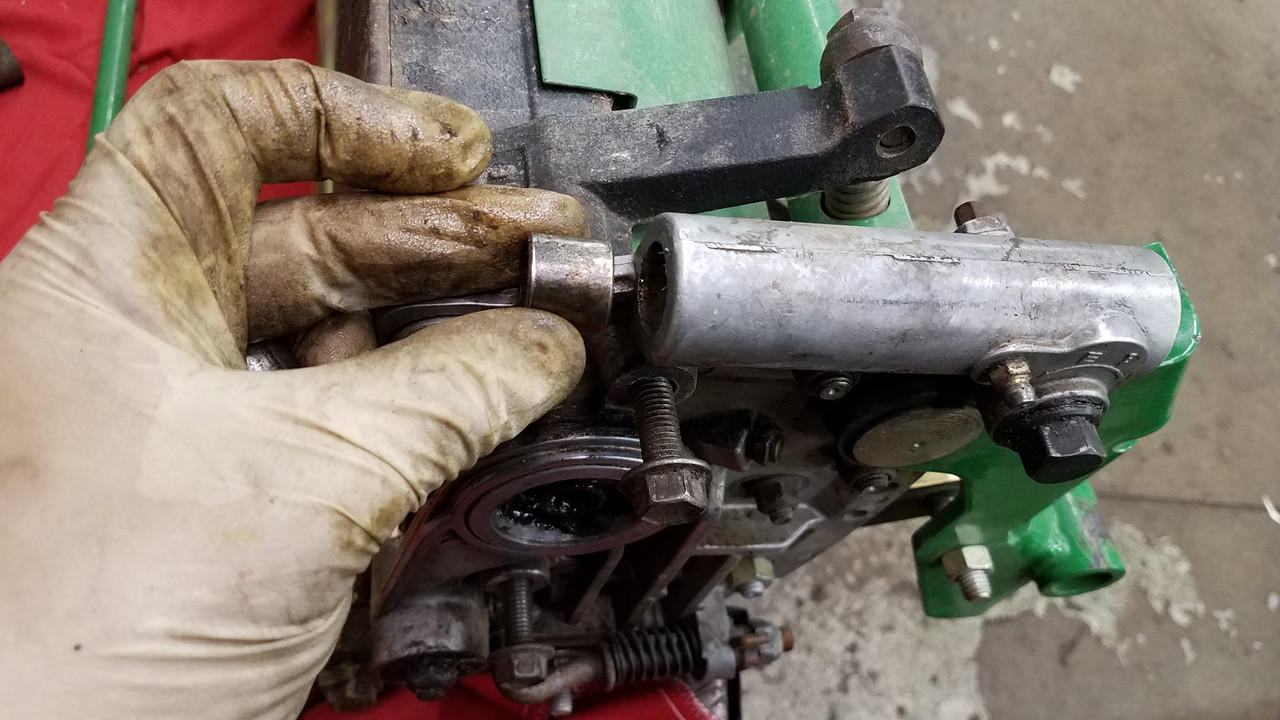
Removed the old damaged gear,


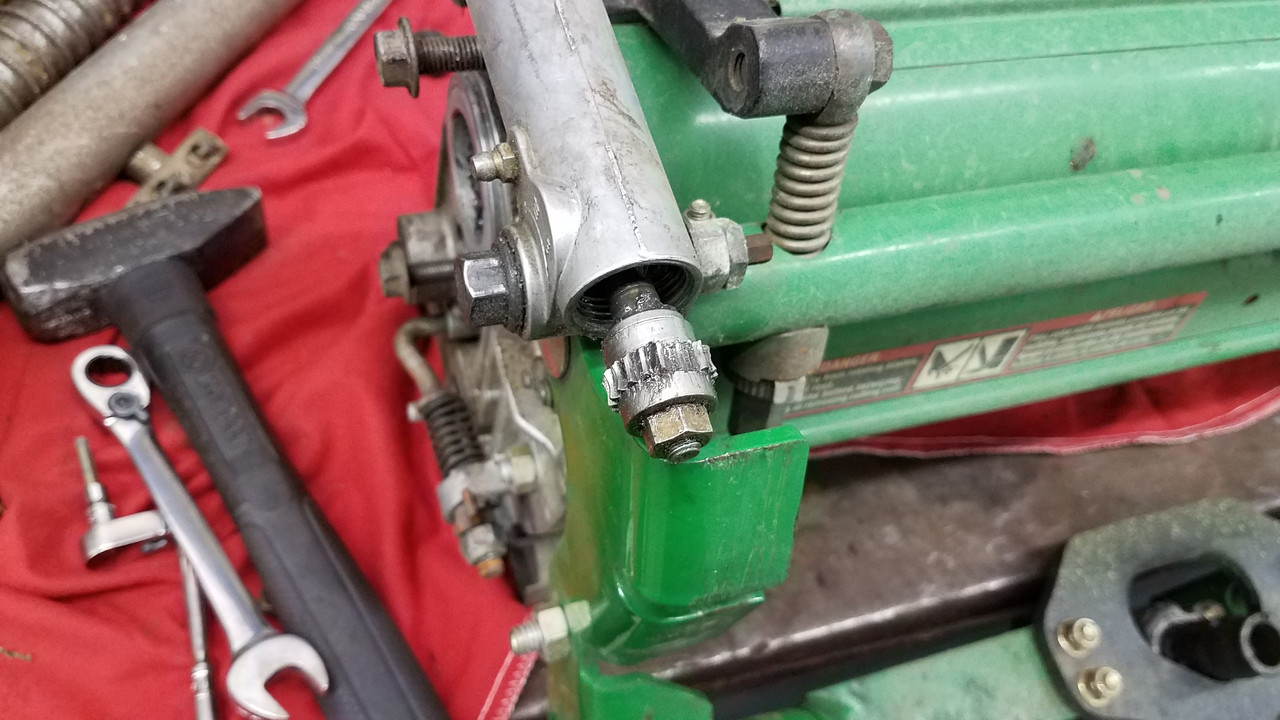
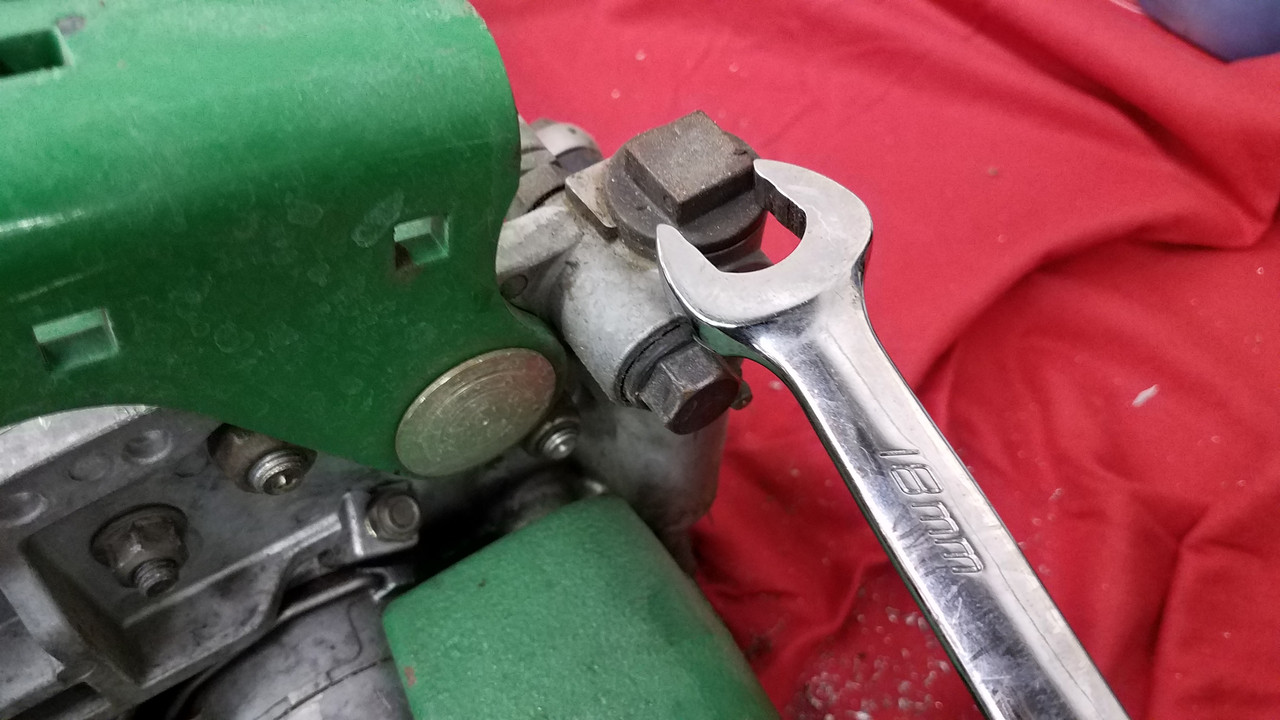
And replaced it with the new one. John Deere redesigned the worm gear by making the worm gear section wider. As a result, the fit is tighter and you will need to pull out the other section of the worm gear with the 16mm head in order to fit this one in.


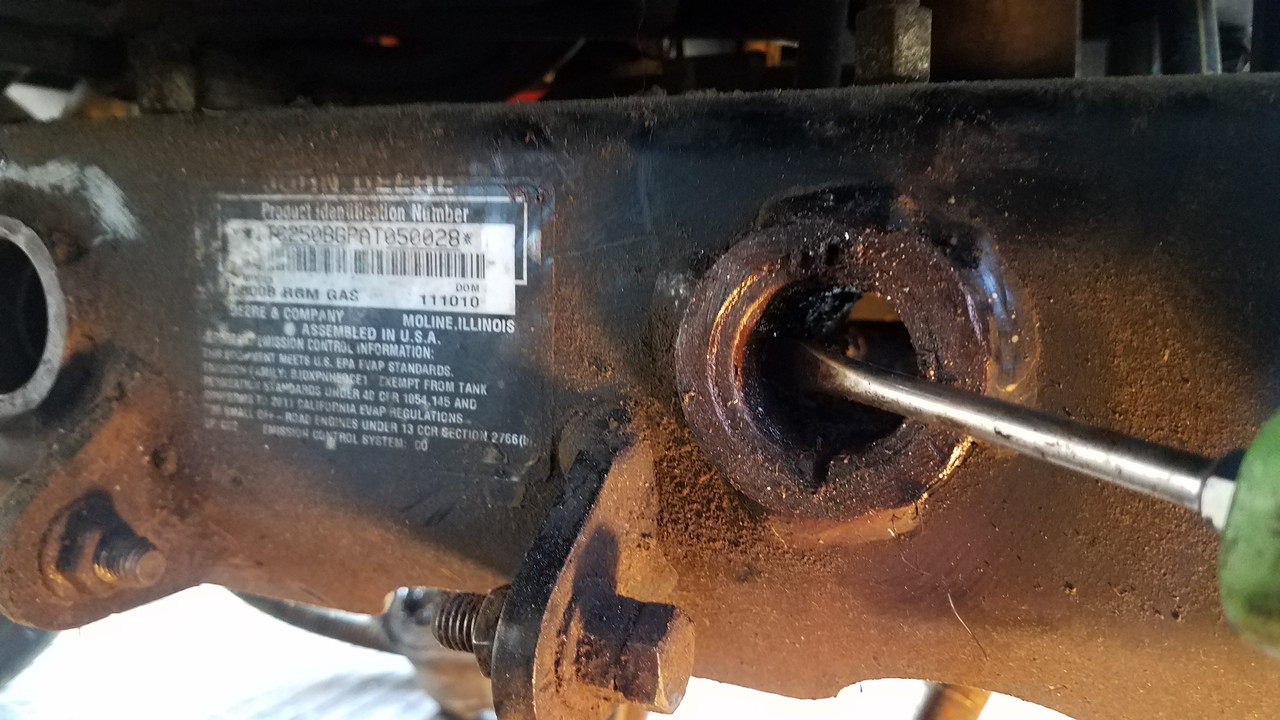
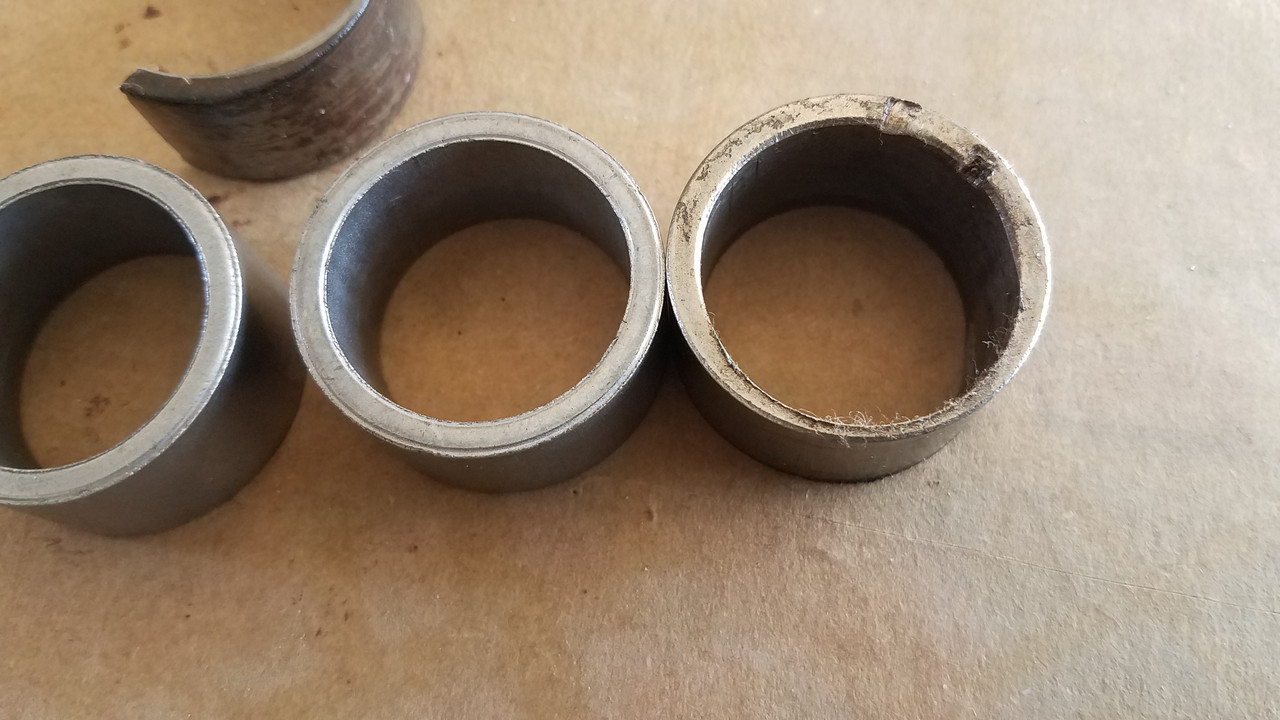
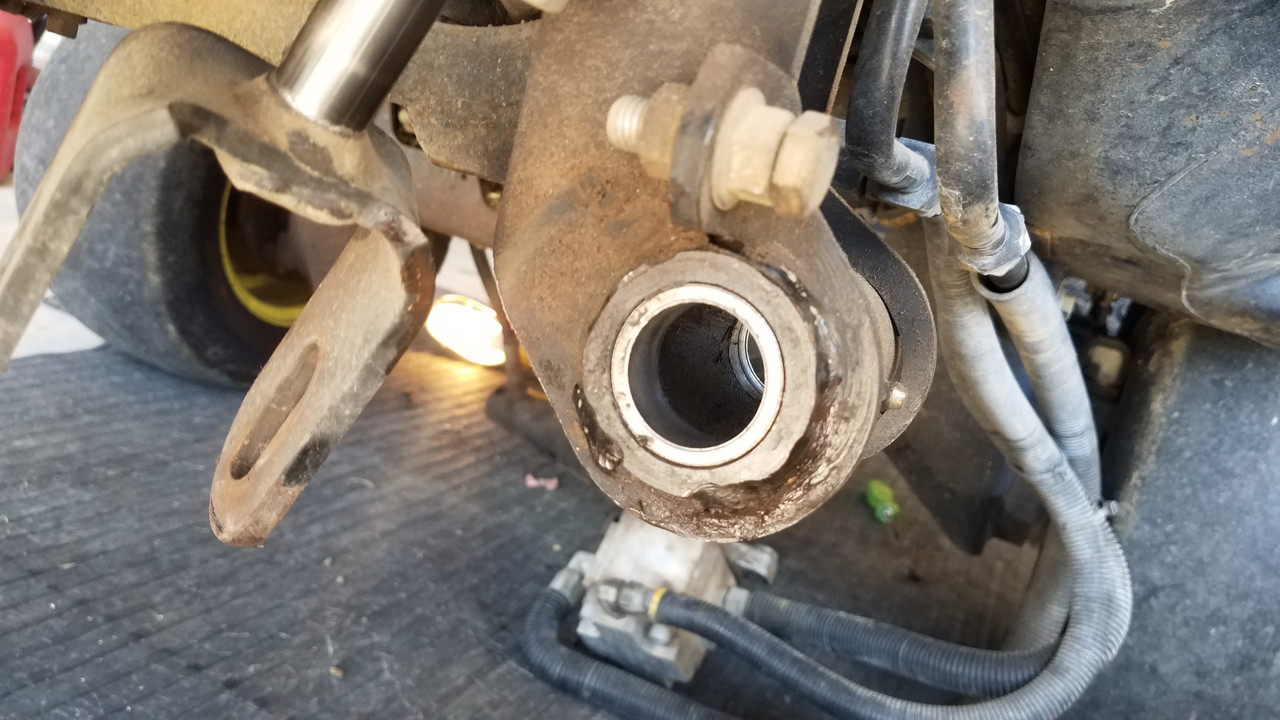
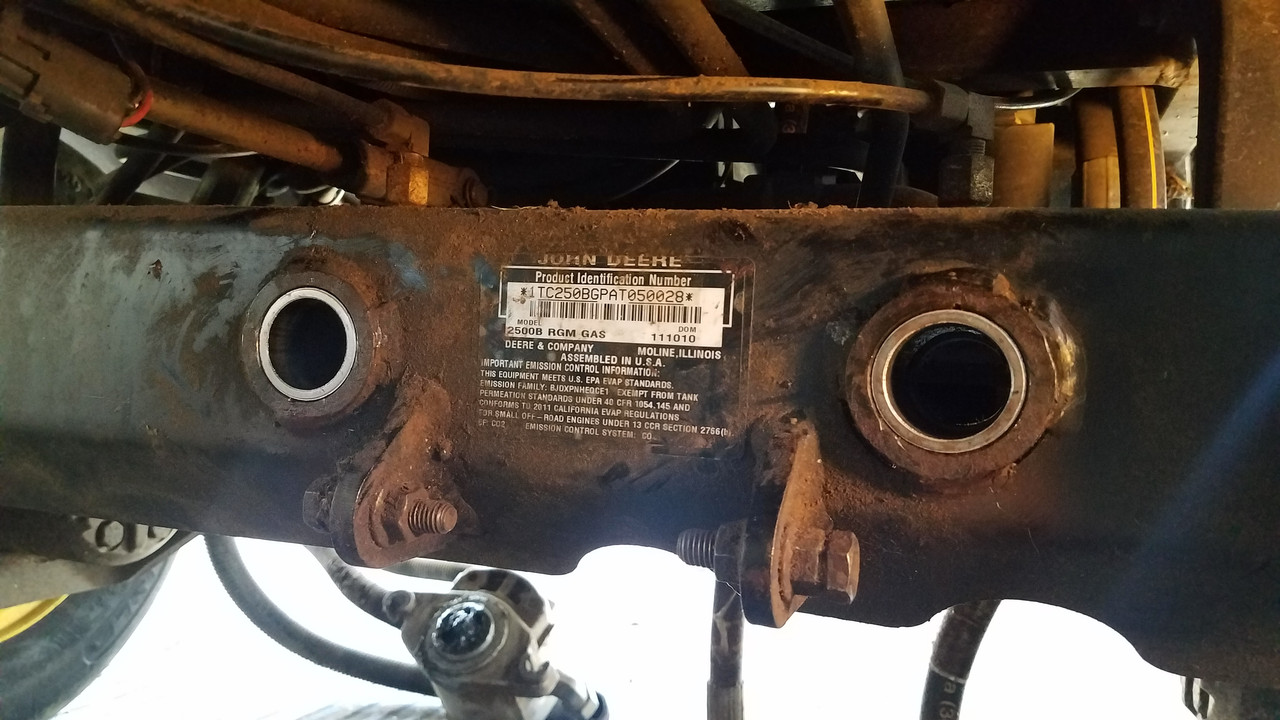
In the housing for the rear roller adjuster there are metal bushings. They all had play. If you grabbed the roller forward and back, you could feel the movement. They are tough to get out, but after some trial and error was able to remove all 6 and replaced them with new.


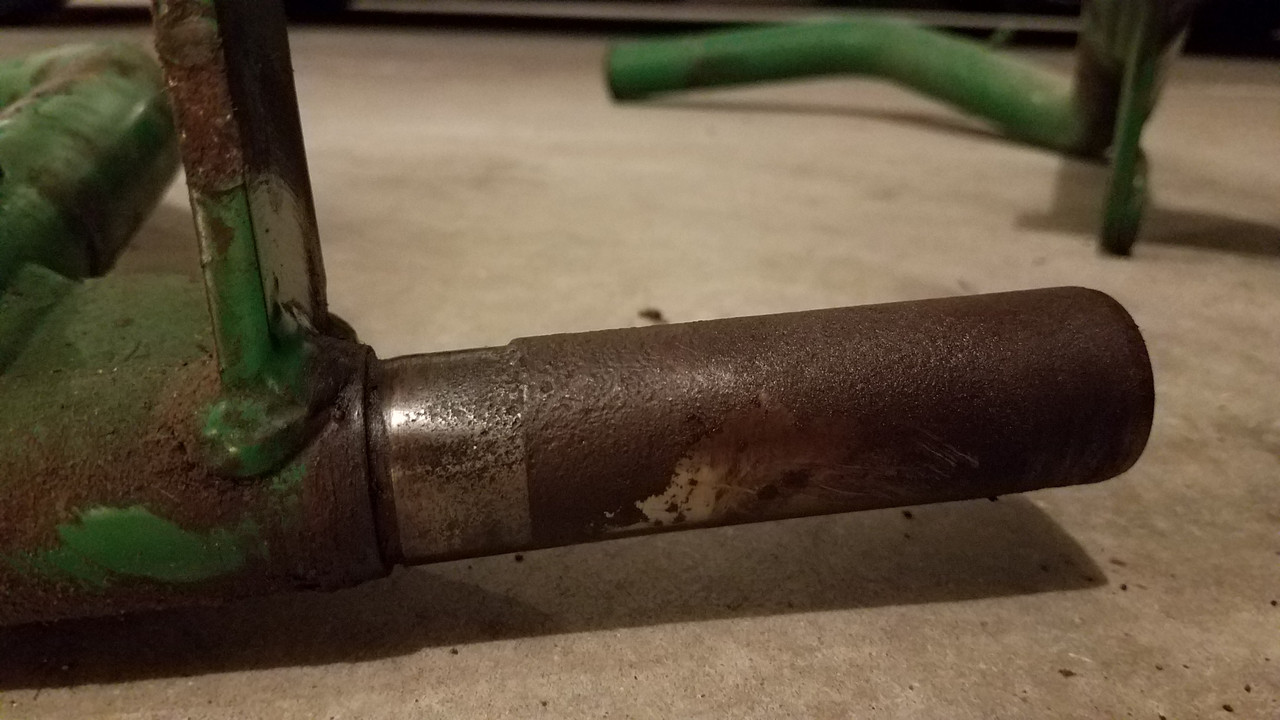
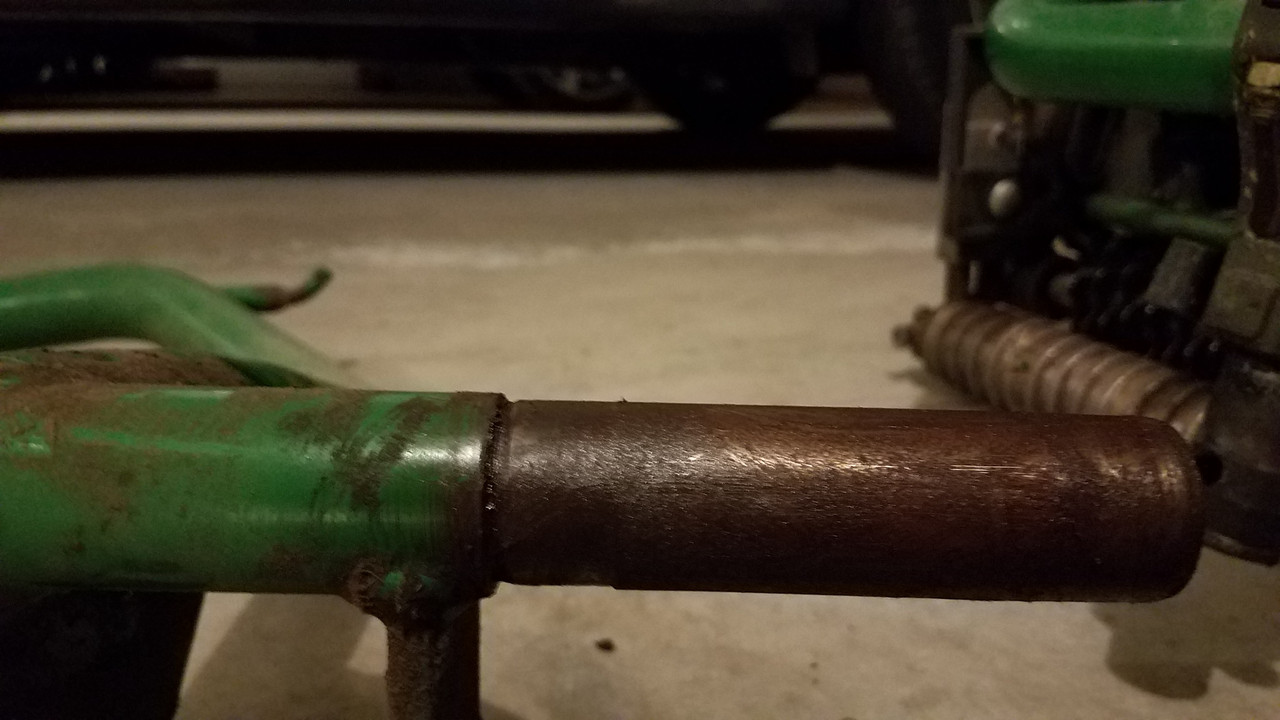
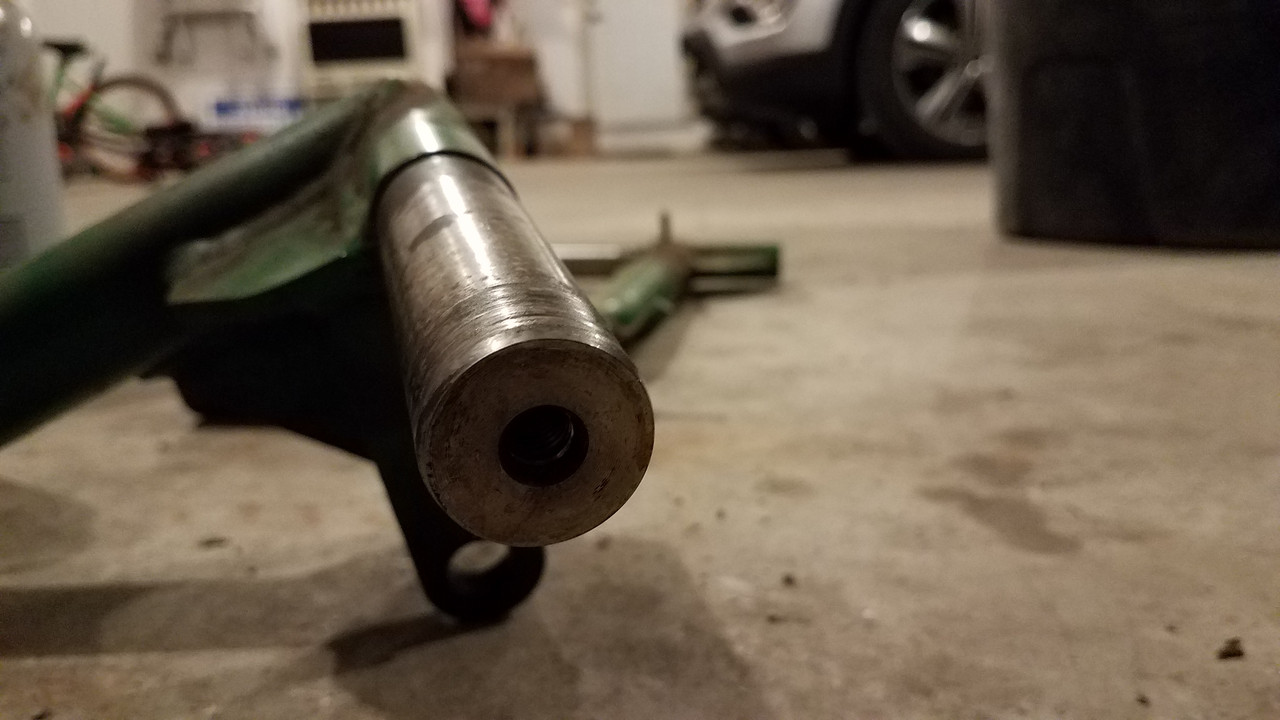
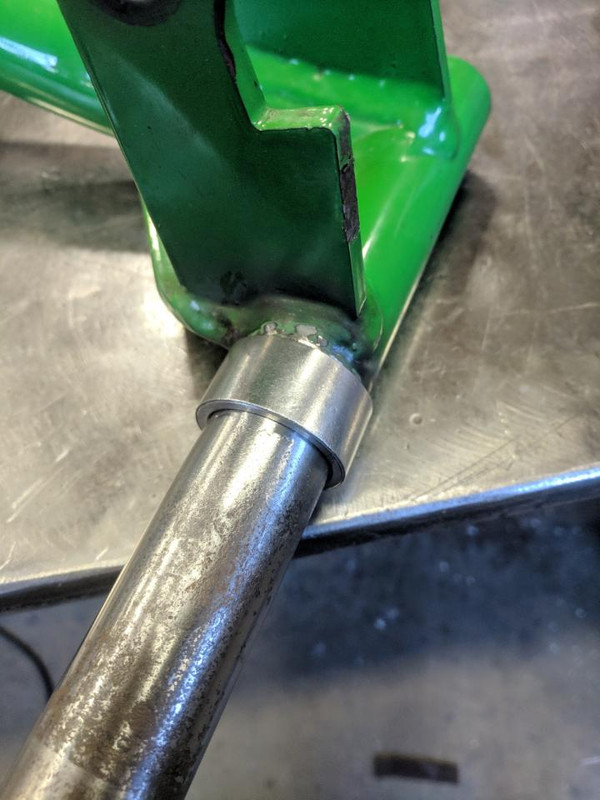
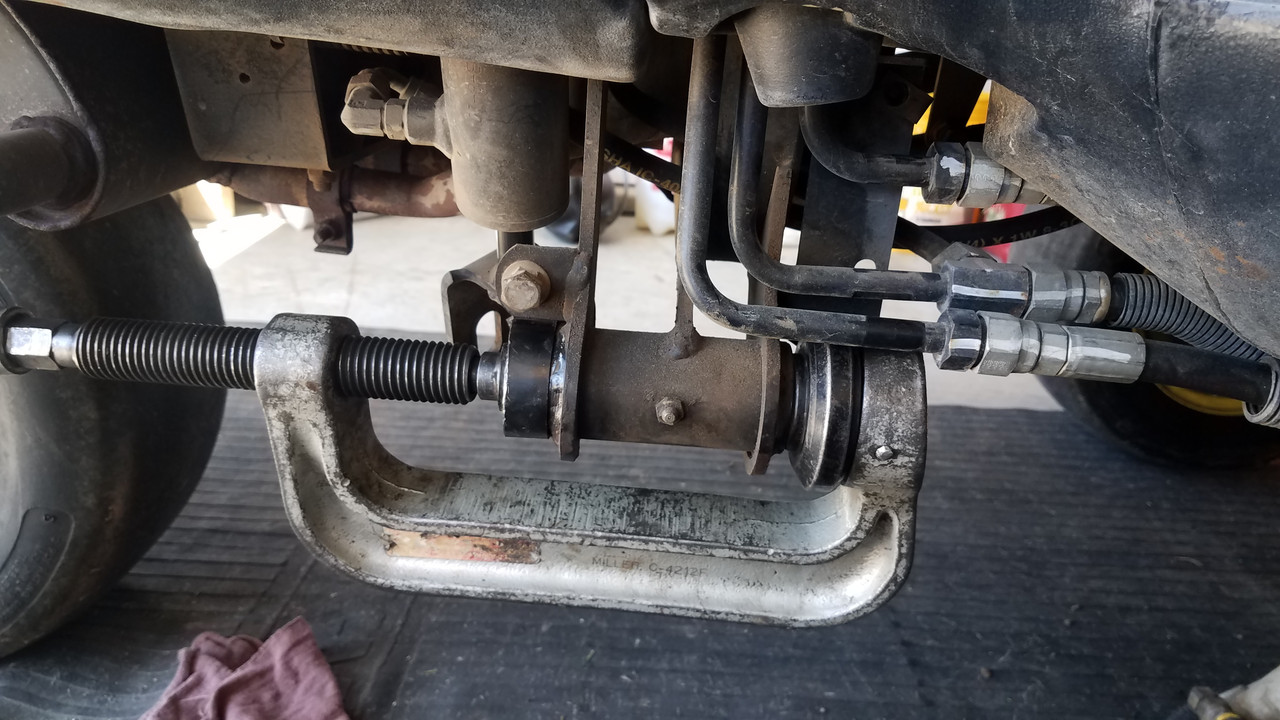
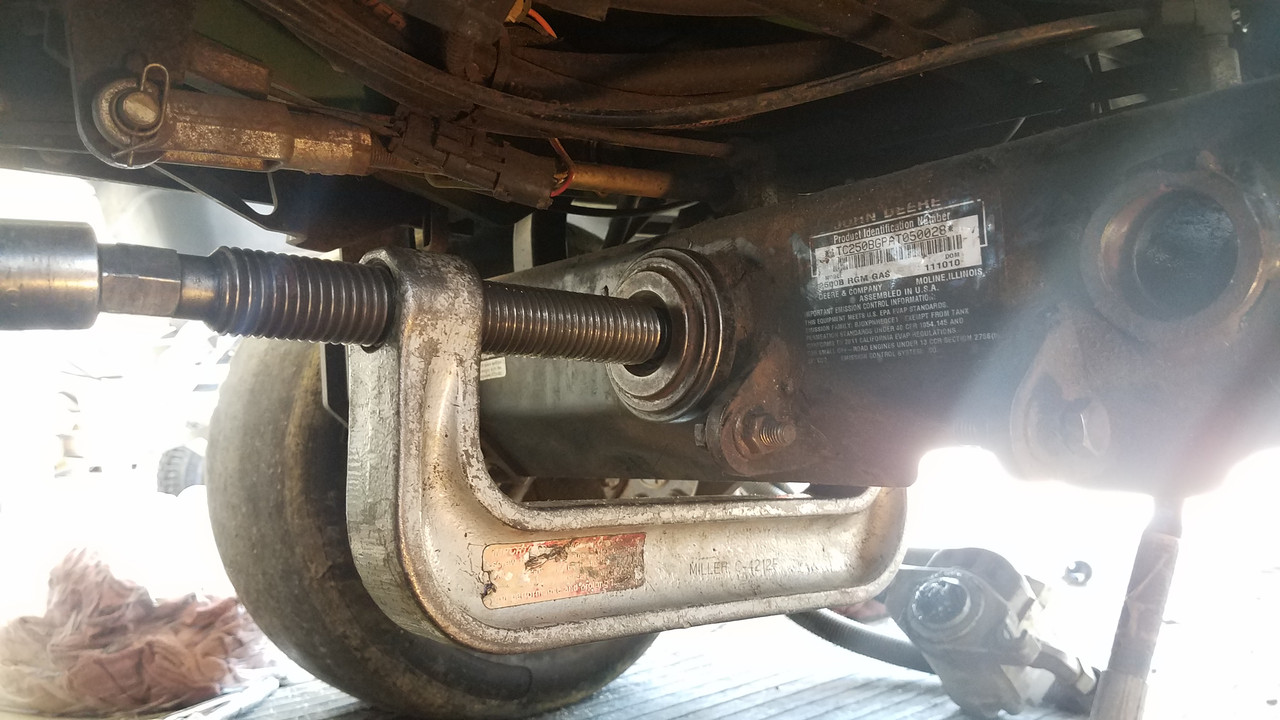
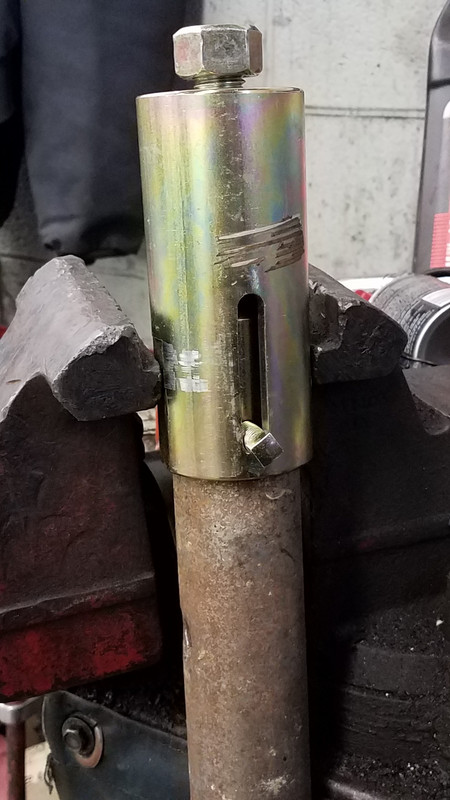
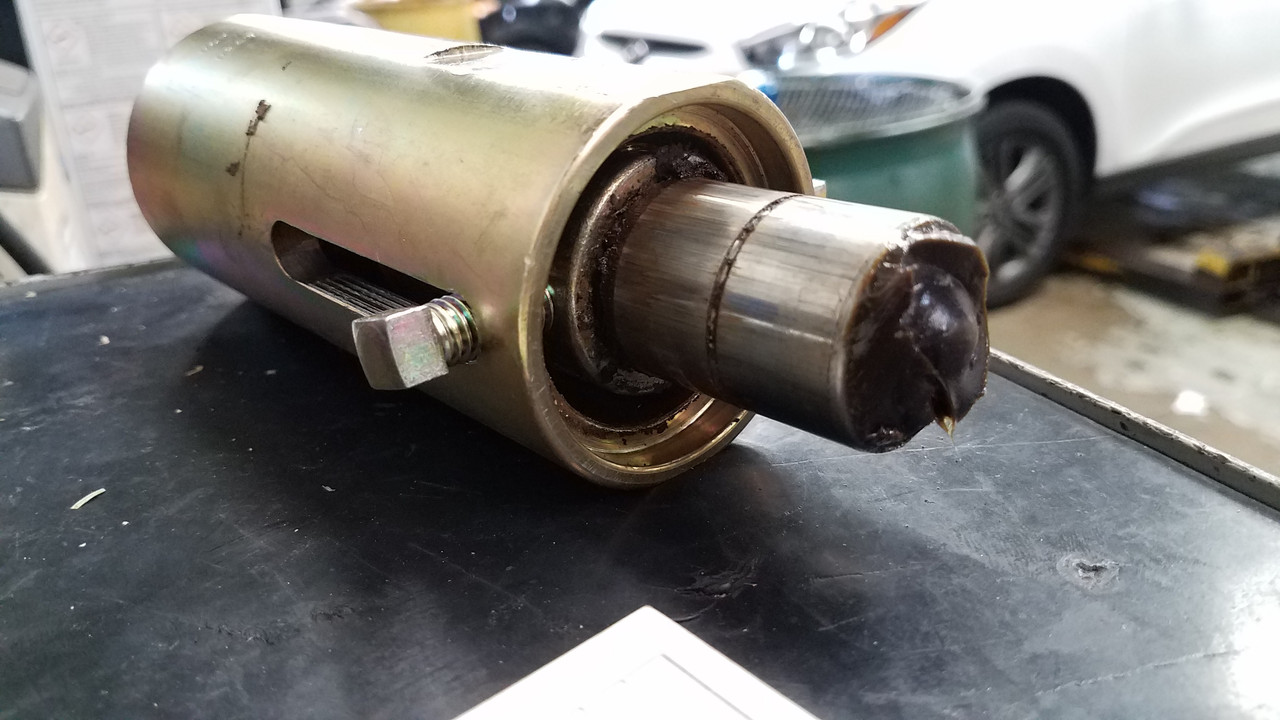
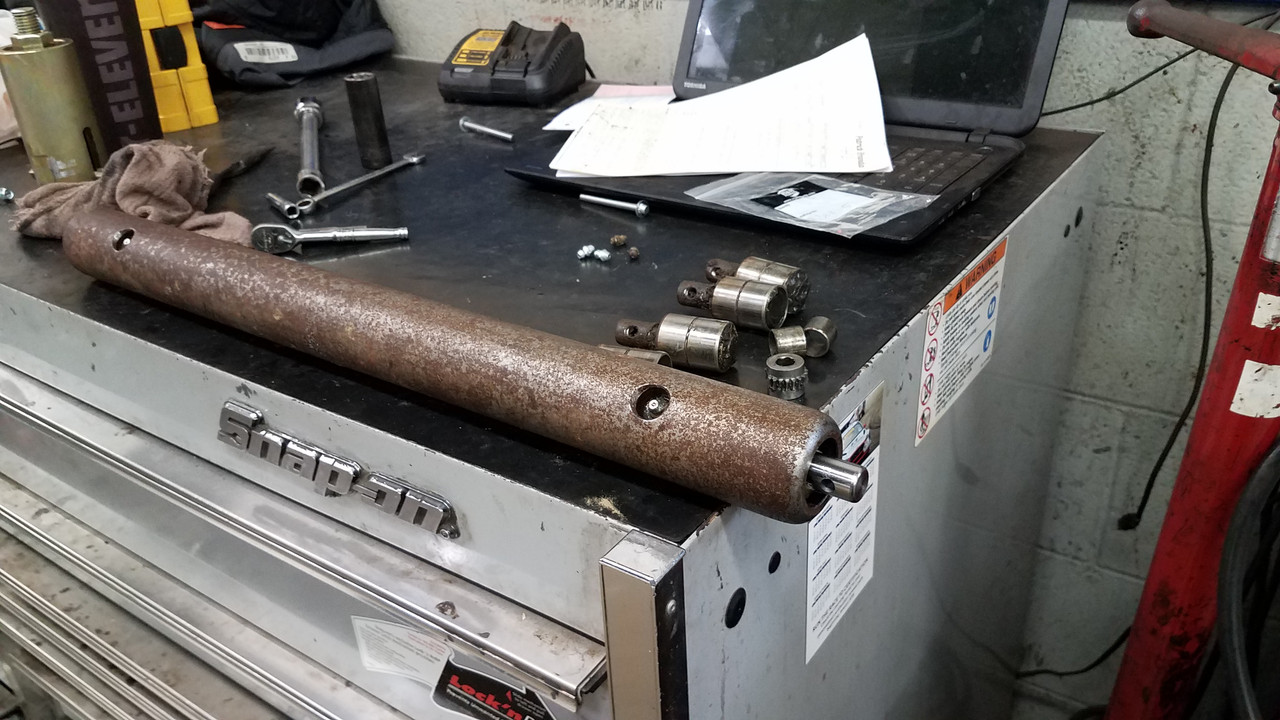
One of the rear rollers I replaced last season, but the other 2 were original to the triplex. The bearing in those 2 rollers developed play, so with the help of a bearing puller I picked up from RRproducts,


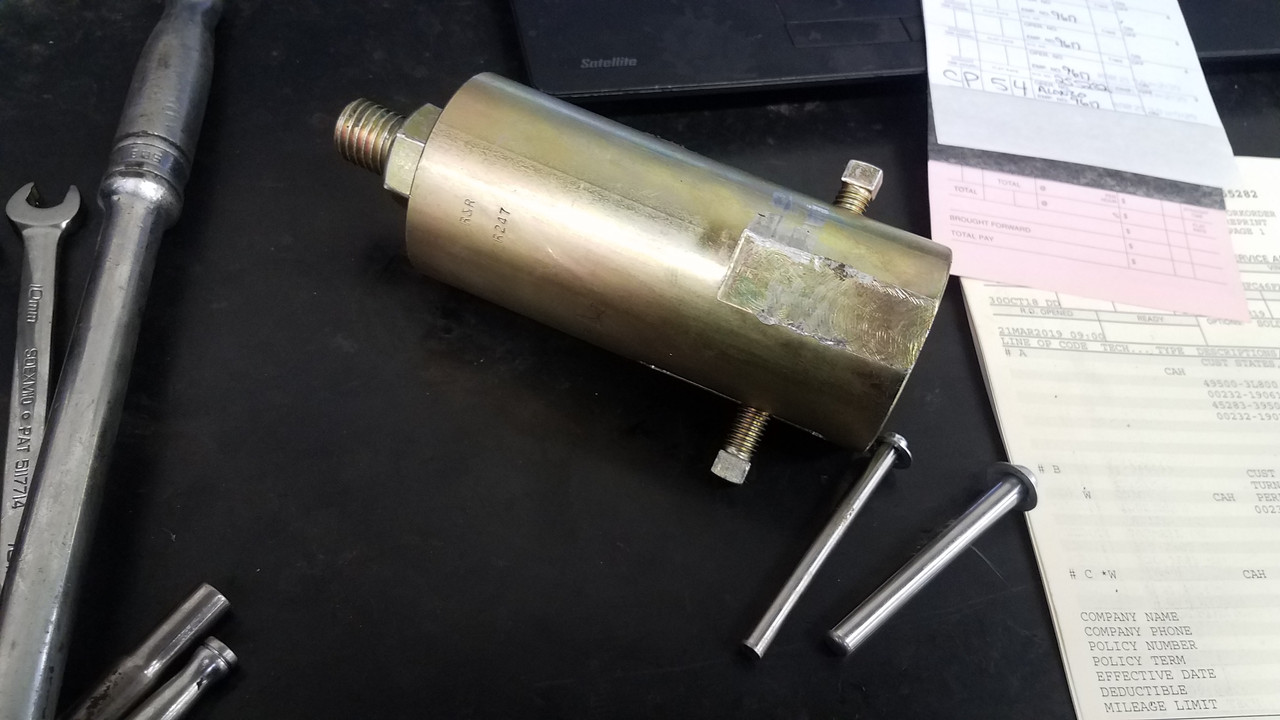
I put the puller in a vice, and pulled the 4 old bearings.


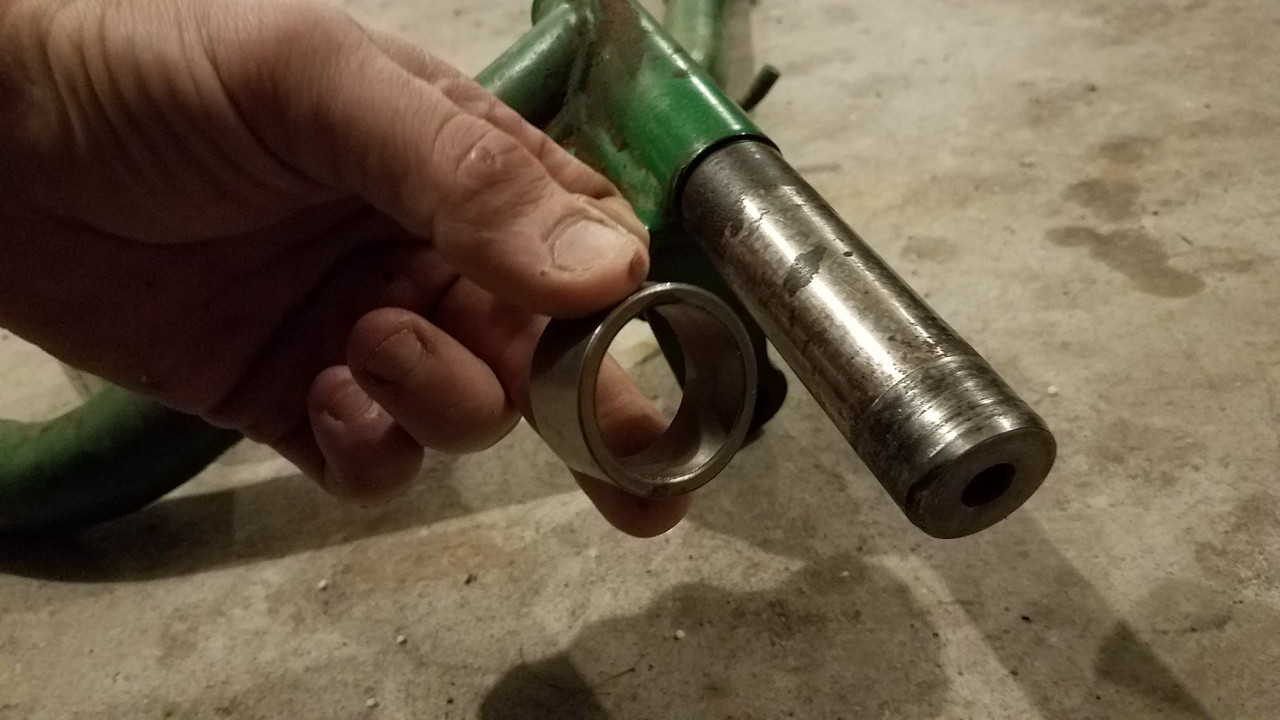
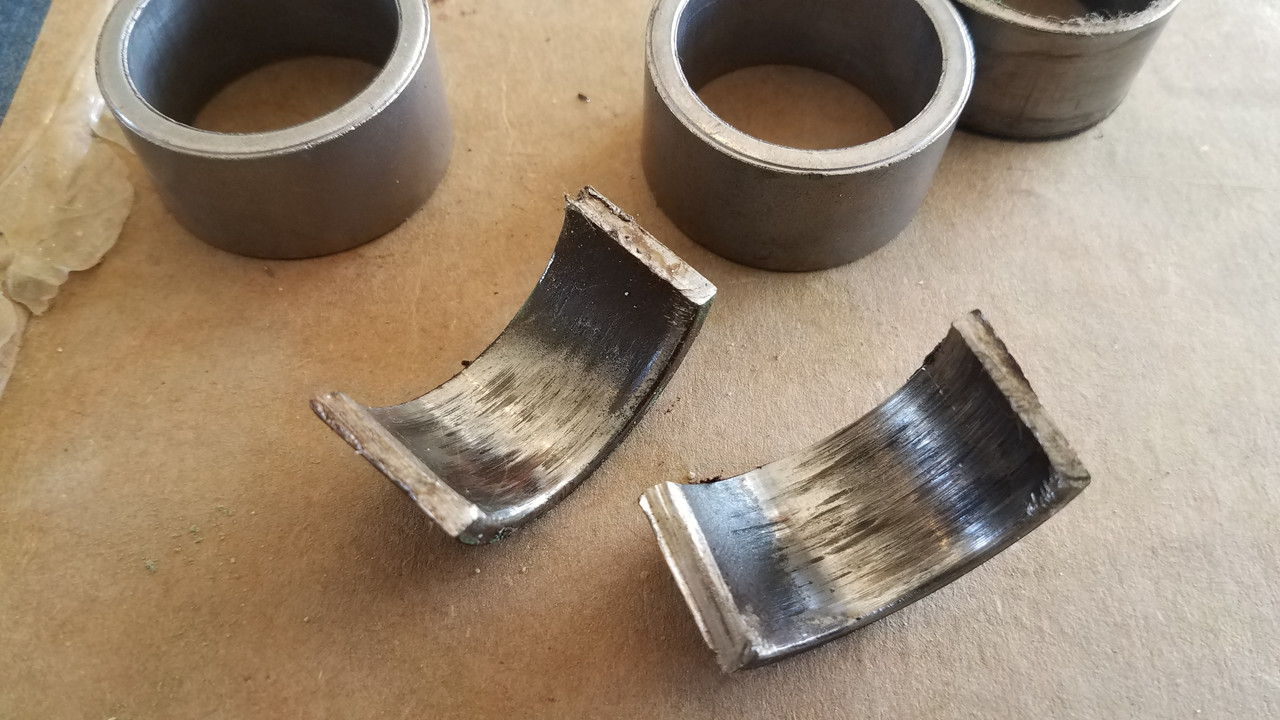
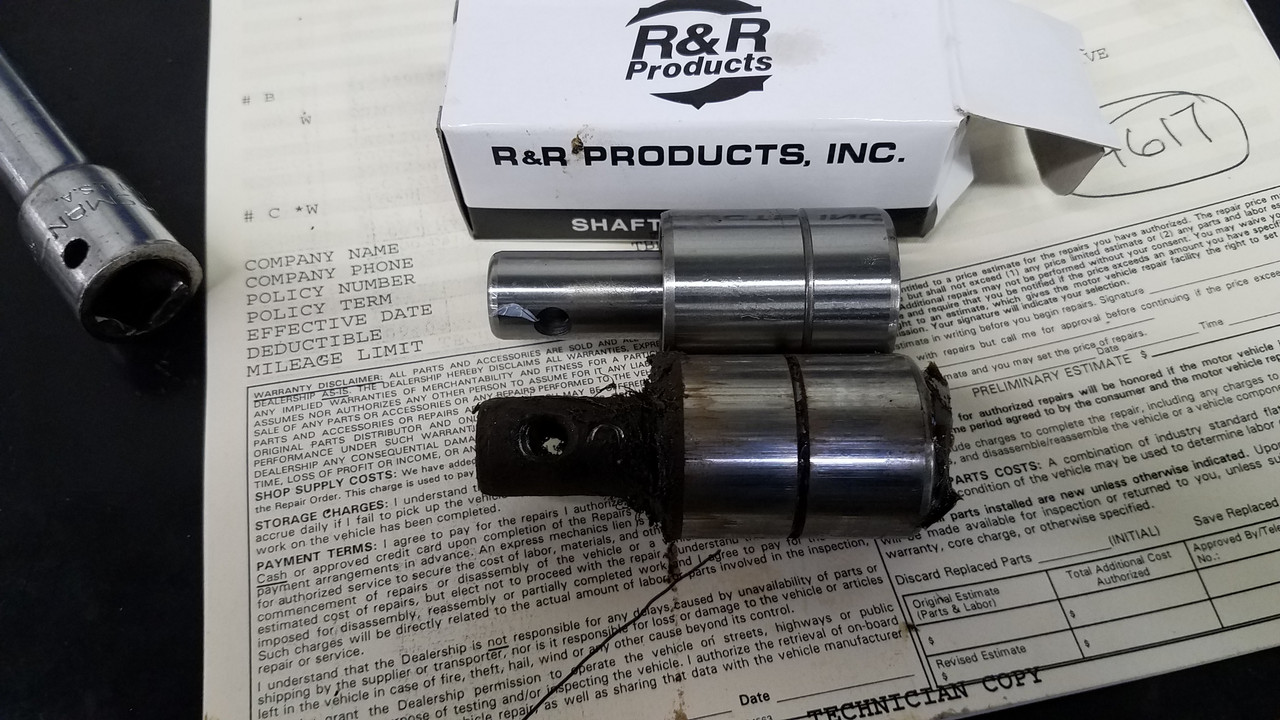
Here is a picture comparing the old bearing to the new one.


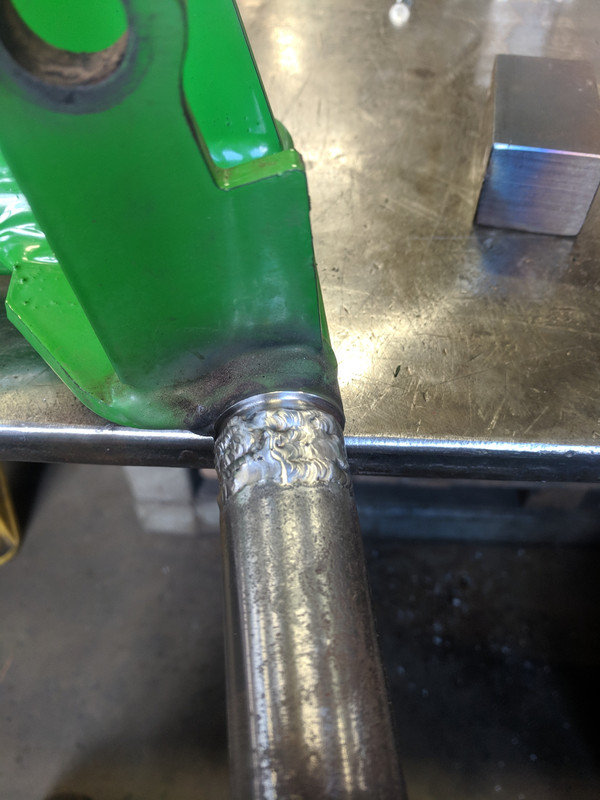
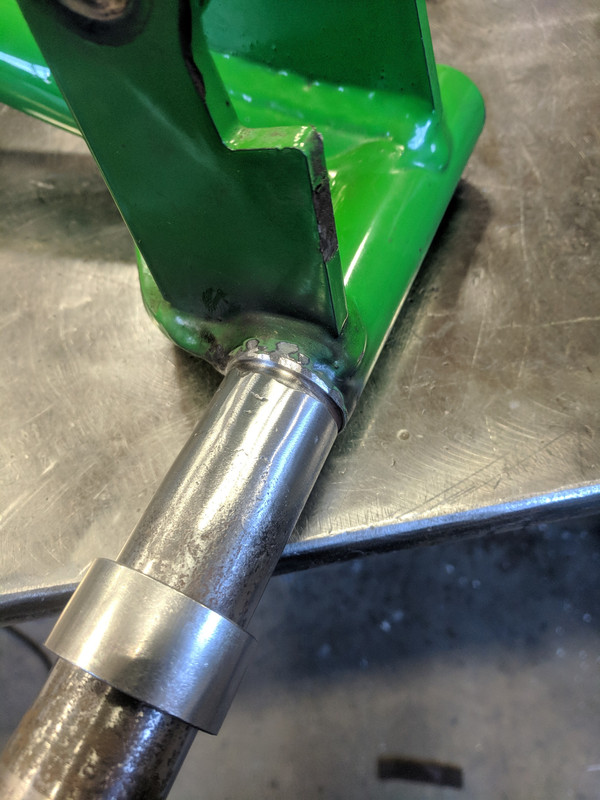
I then pressed the new bearings in, and completed the roller reconditioning with some new zerk fittings.


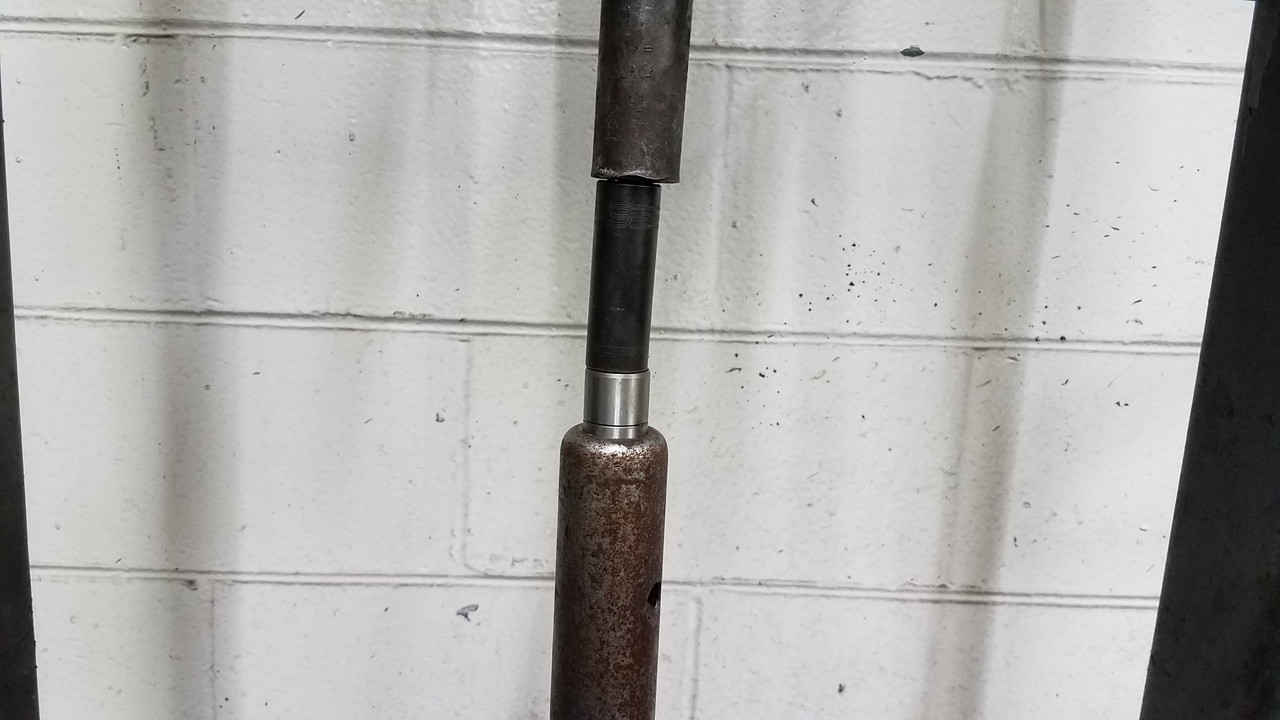
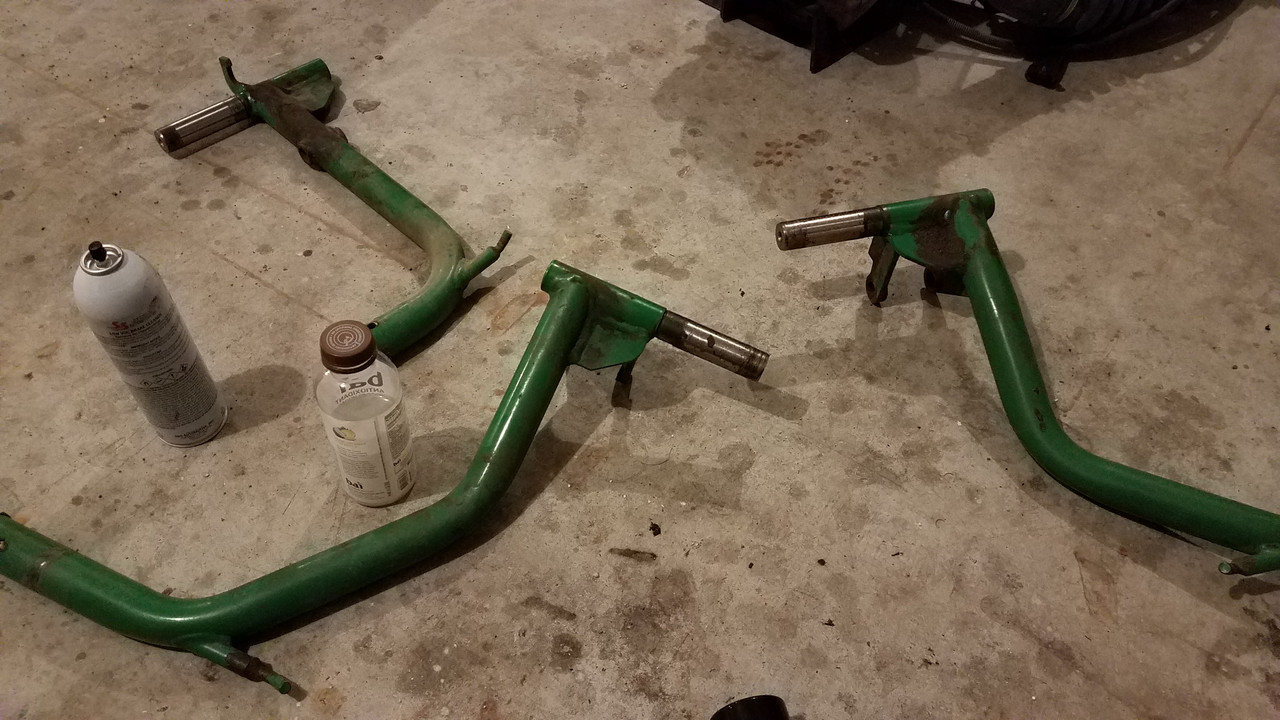
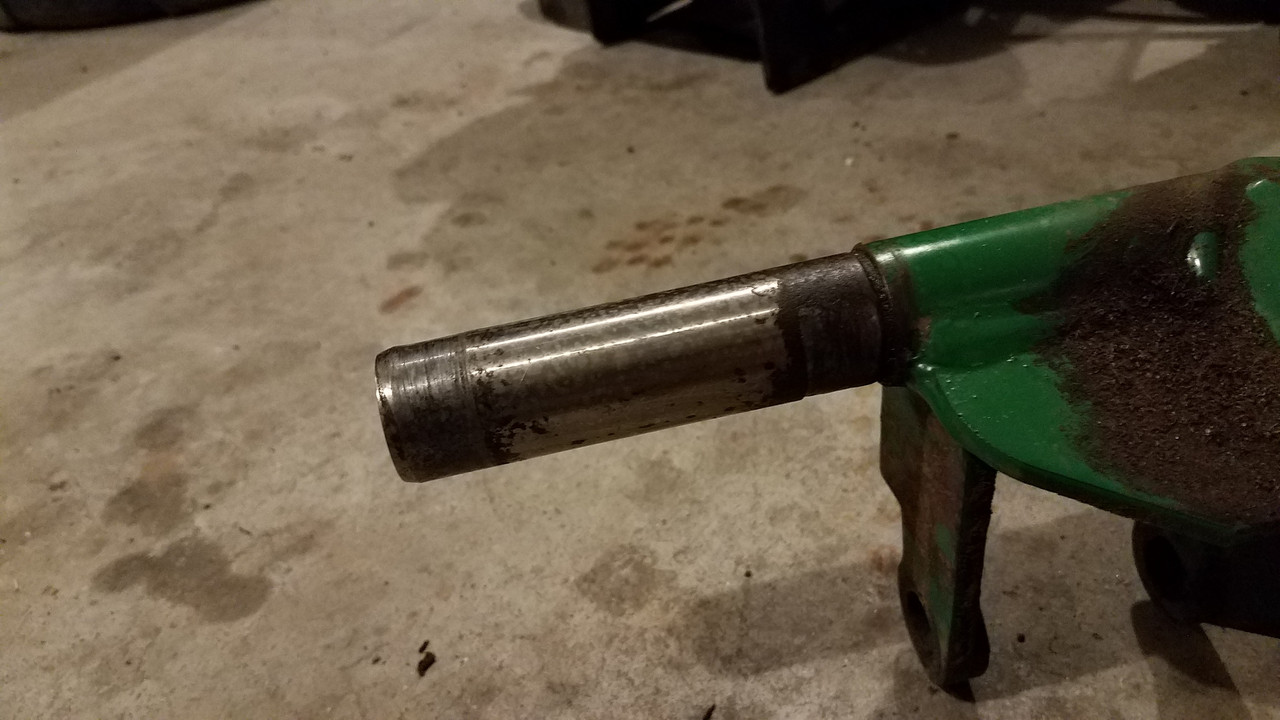
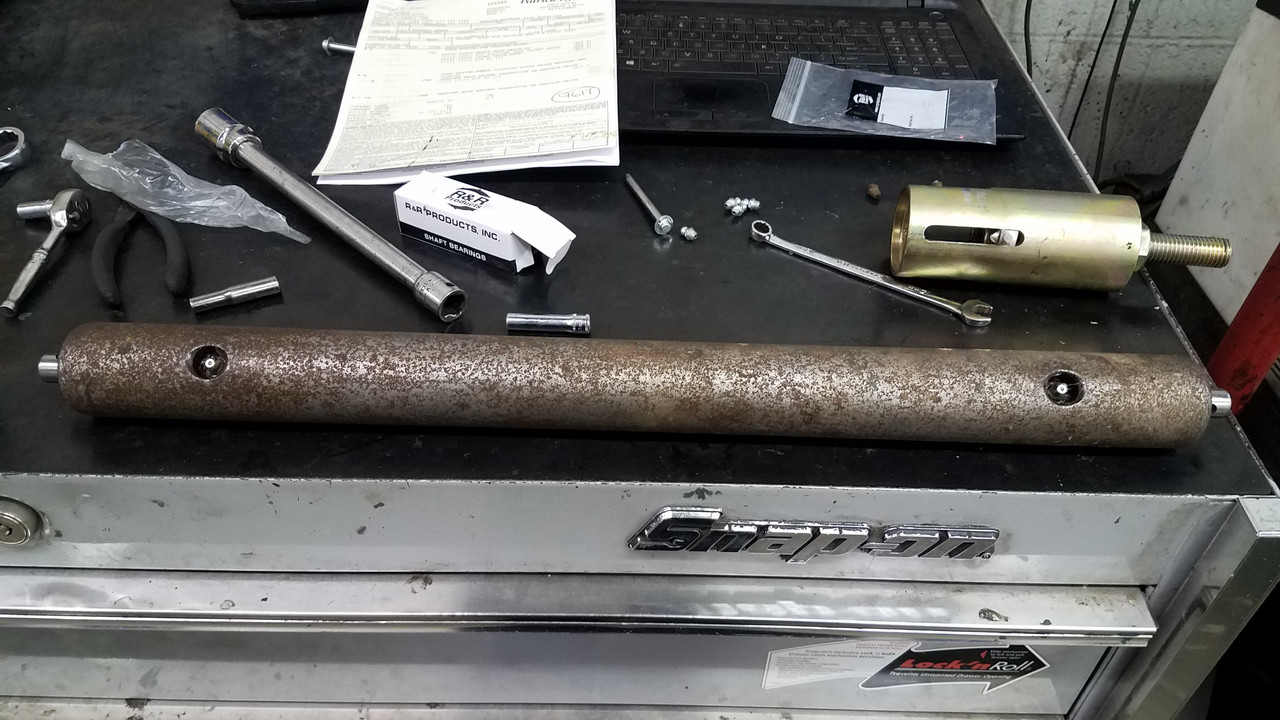
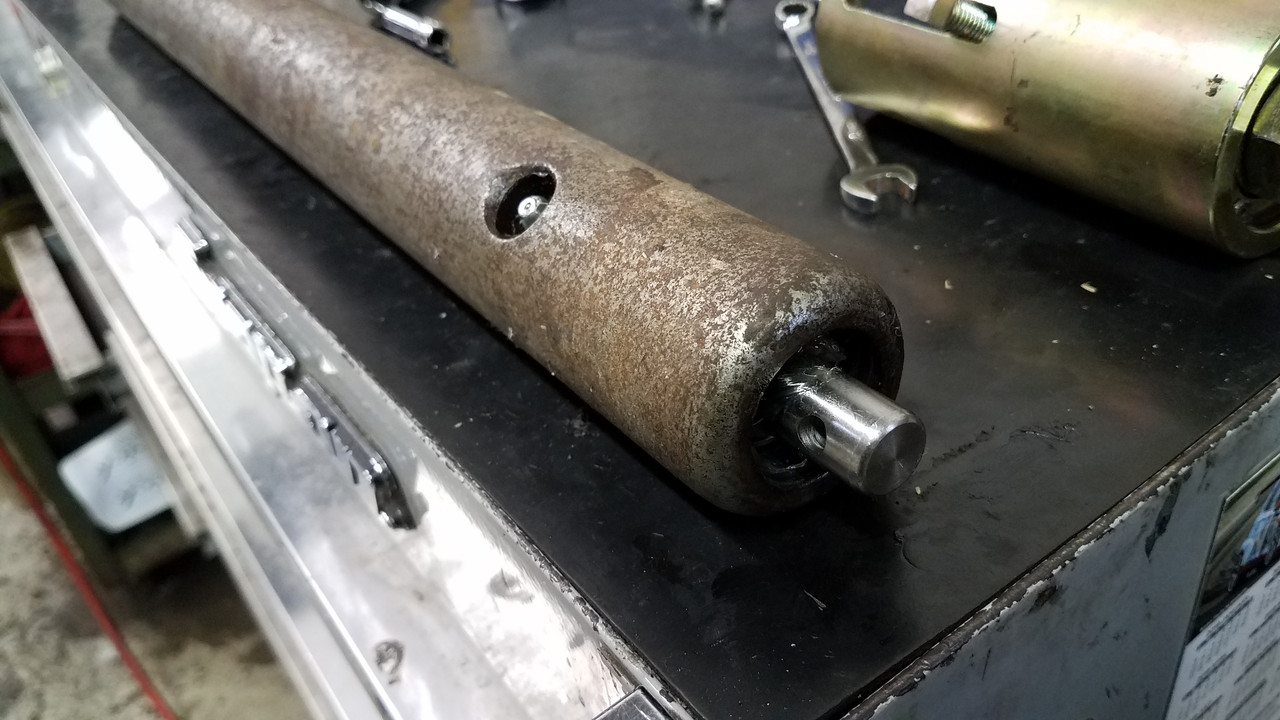
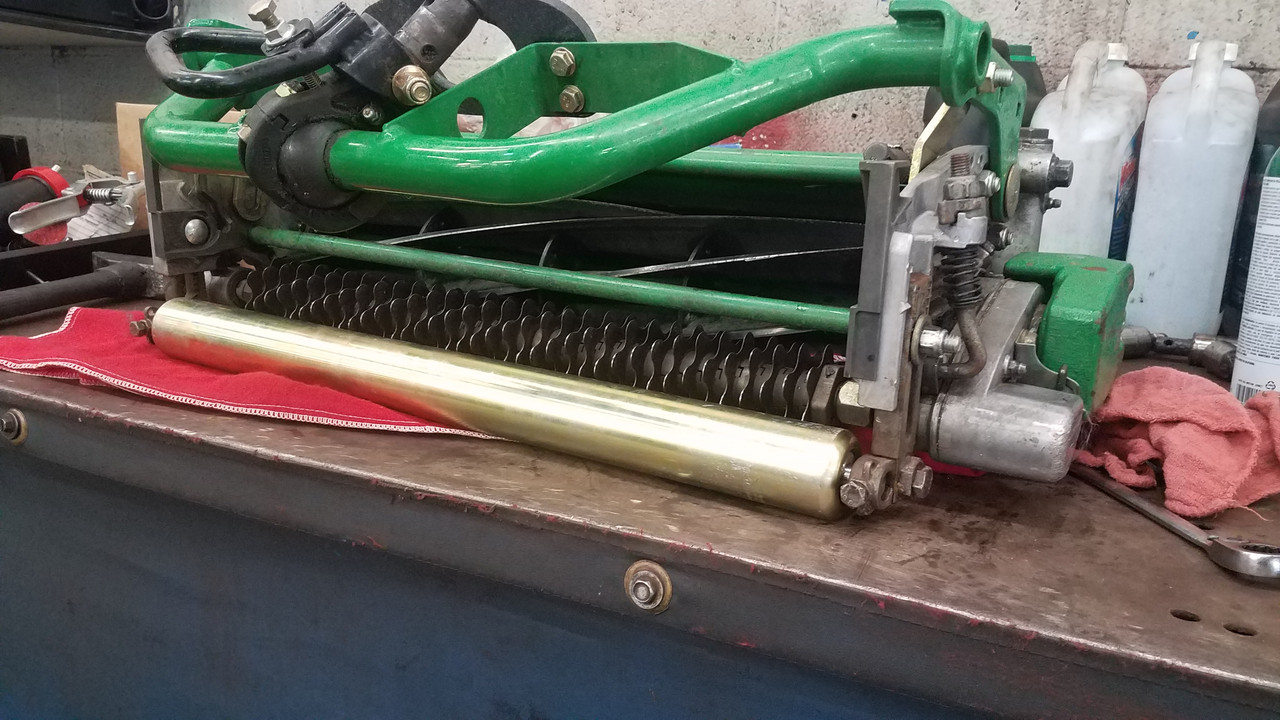
Here are some pics of the rollers when done. They have some surface rust on them, but the rust will be quickly removed during the first dewy mow.


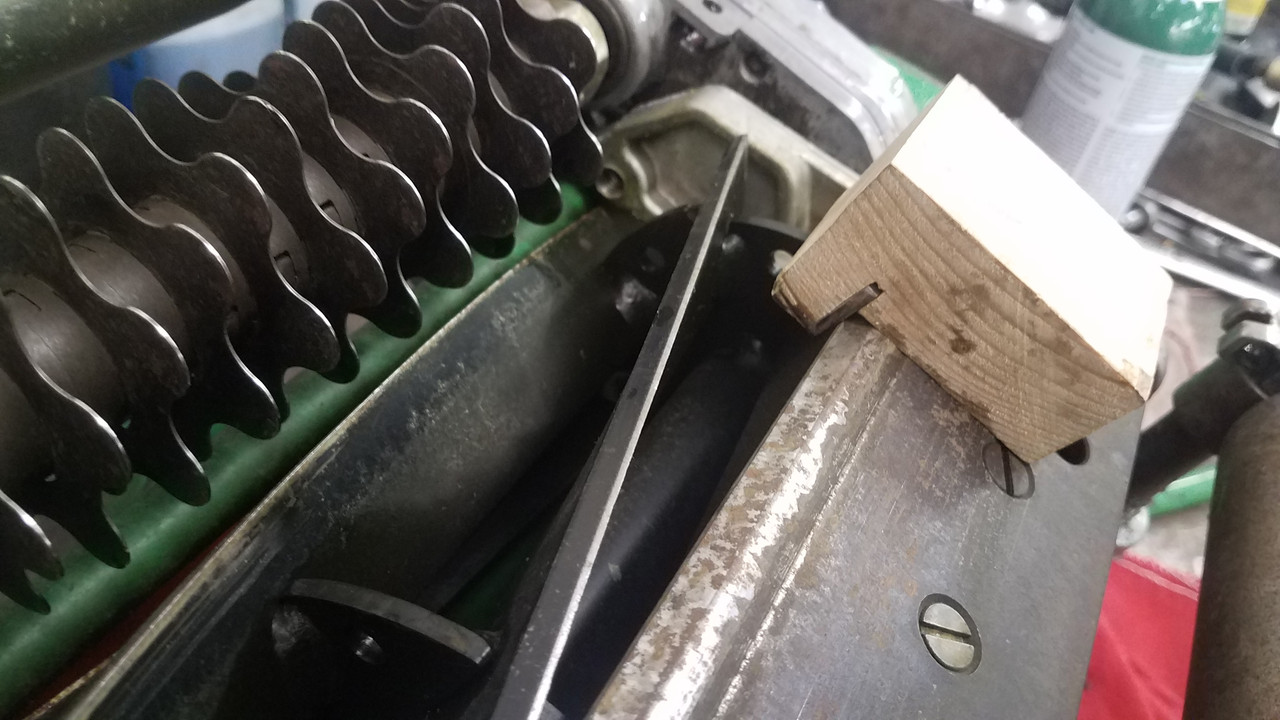
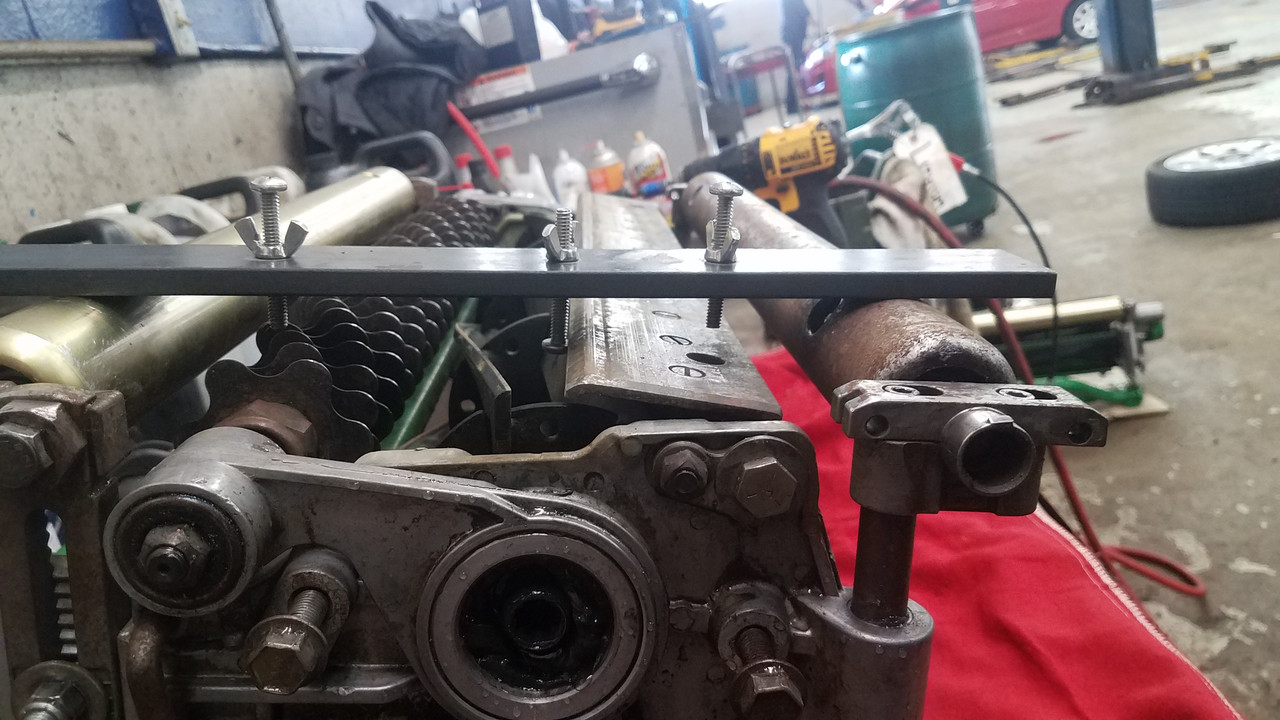
After cleaning them and greasing all the fittings, I began setting them up for the season. I cleaned up the front face of the bedknife with a homemade "bedknife buddy",


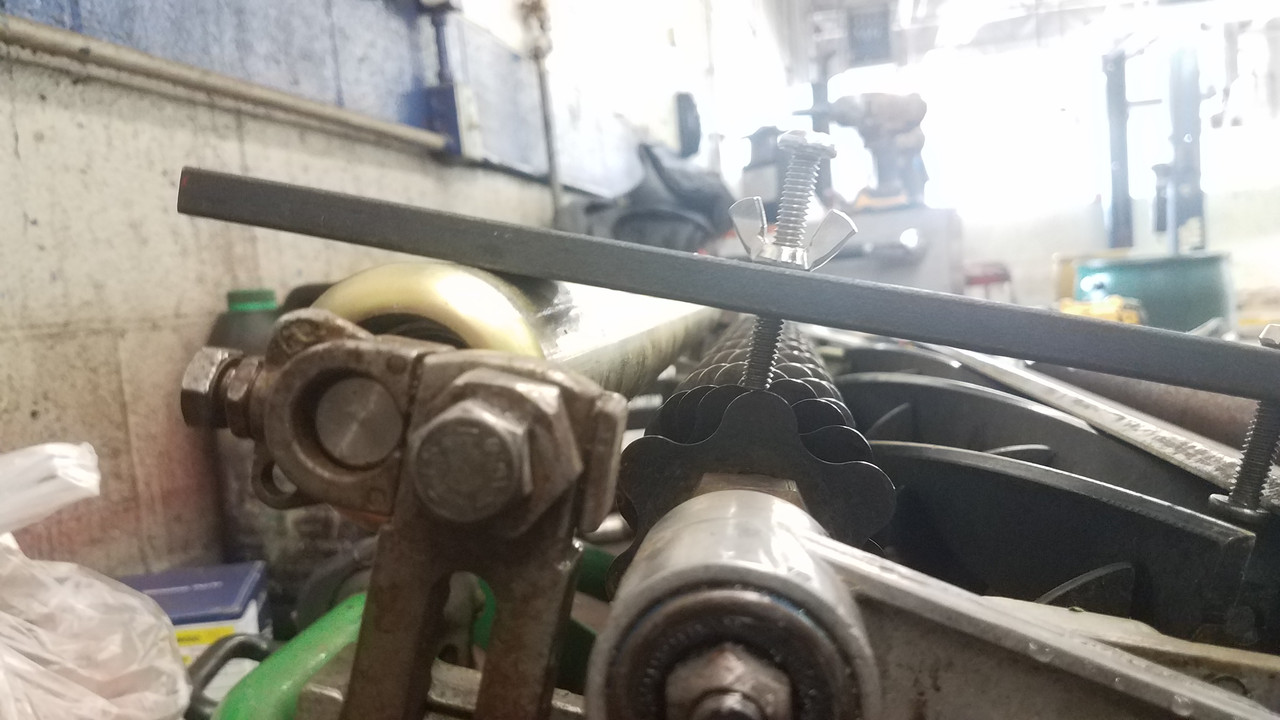
Set the HOC to 7/8" to start the season,


And set the groomer assembly to 21/32"


When done I checked and all reels are easily cutting paper across all blades with minimal contact. I will use them for the first clean up mow or two before giving them a backlap.

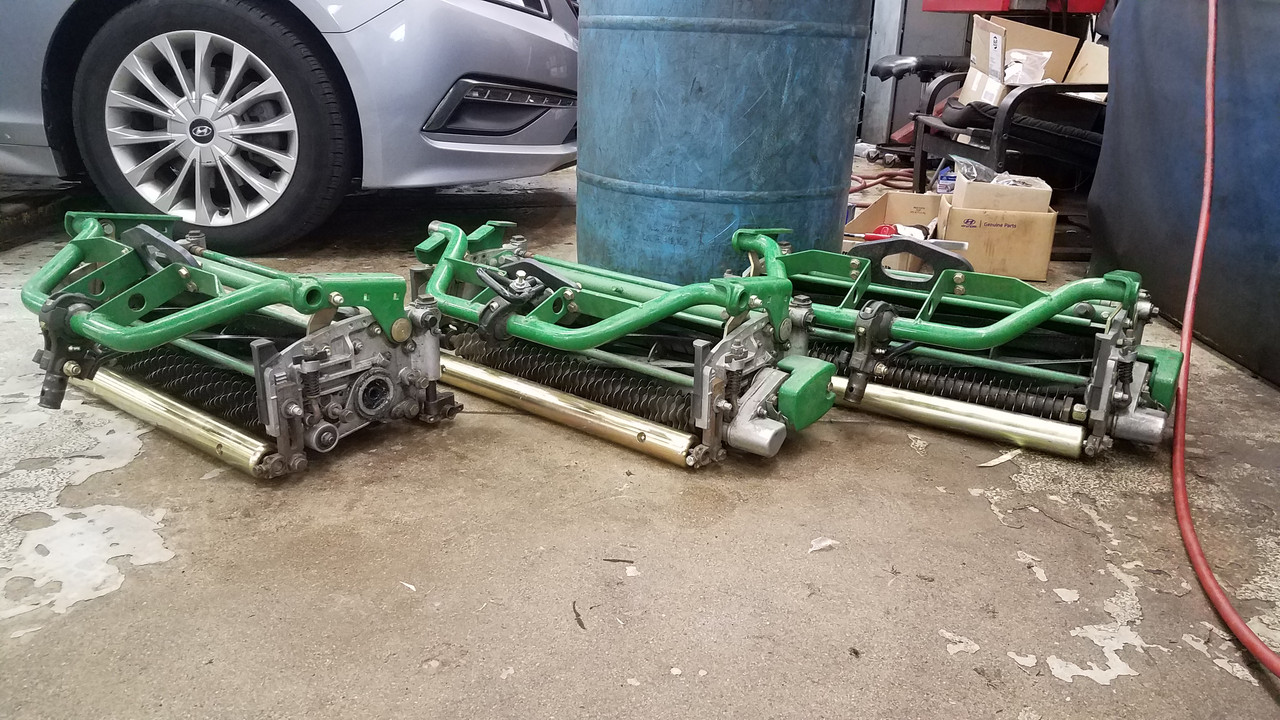
The new rollers look so nice, too bad they won't stay looking that way forever. Here are some pics of them all done and then loaded up and ready for a new season.


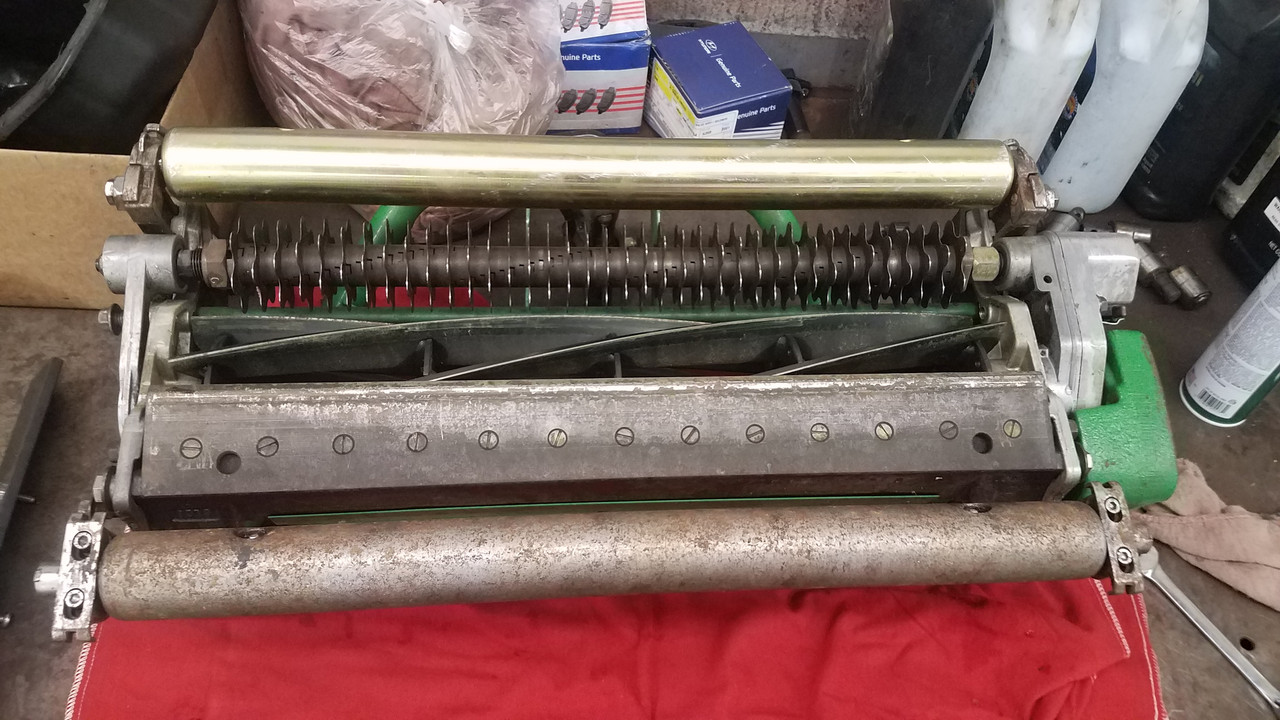
Here are the grooved front rollers cleaned up and greased. I will probably switch them over at some point during the season. The reason I want to start with the smooth rollers is I have been battling triplex ring, and a grooved roller is one of a few things that will help contribute to the issue. During tighter turns with a triplex the cutting heads slide sideways against the turf as they can only pivot so much in the yoke if that makes sense. The result with a grooved roller is kind of like dragging a rake across the turf in tight turns. This is more apparent in soil conditions that are soft and when the turf growth is slower limiting recovery. The grooved rollers tend to pick up more debris in soft conditions as well and is a chore to clean after a mow.


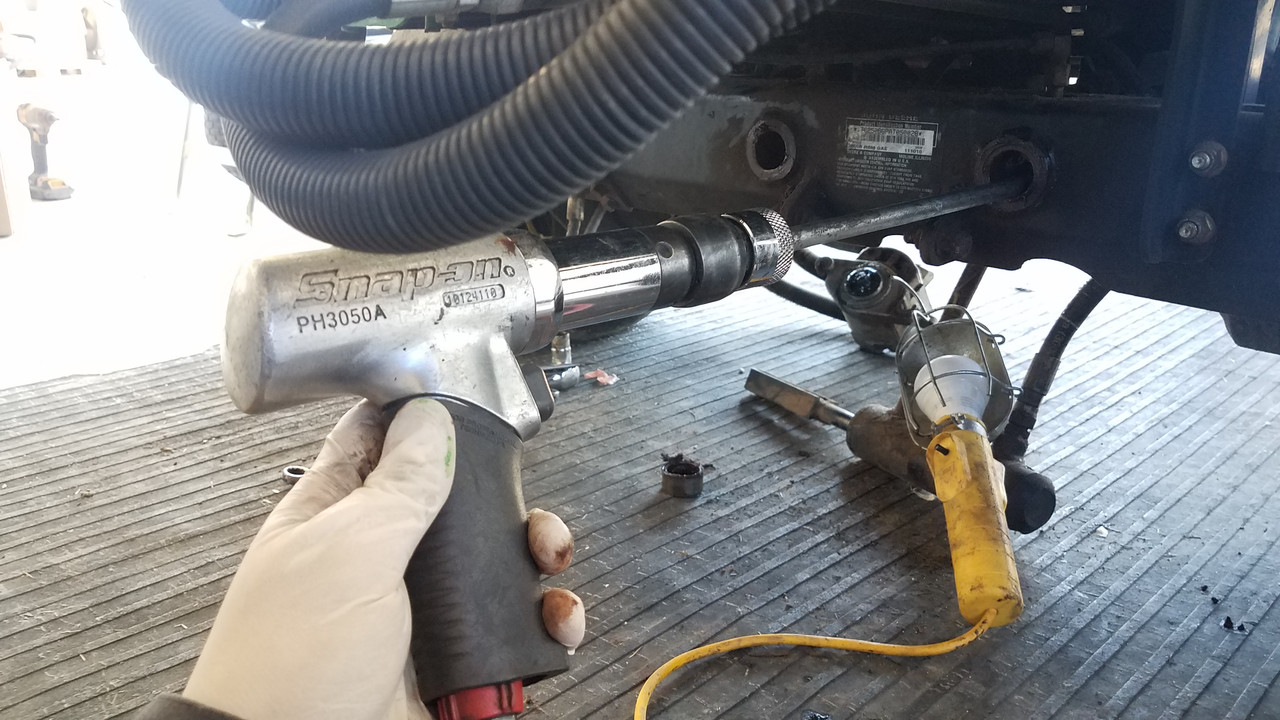
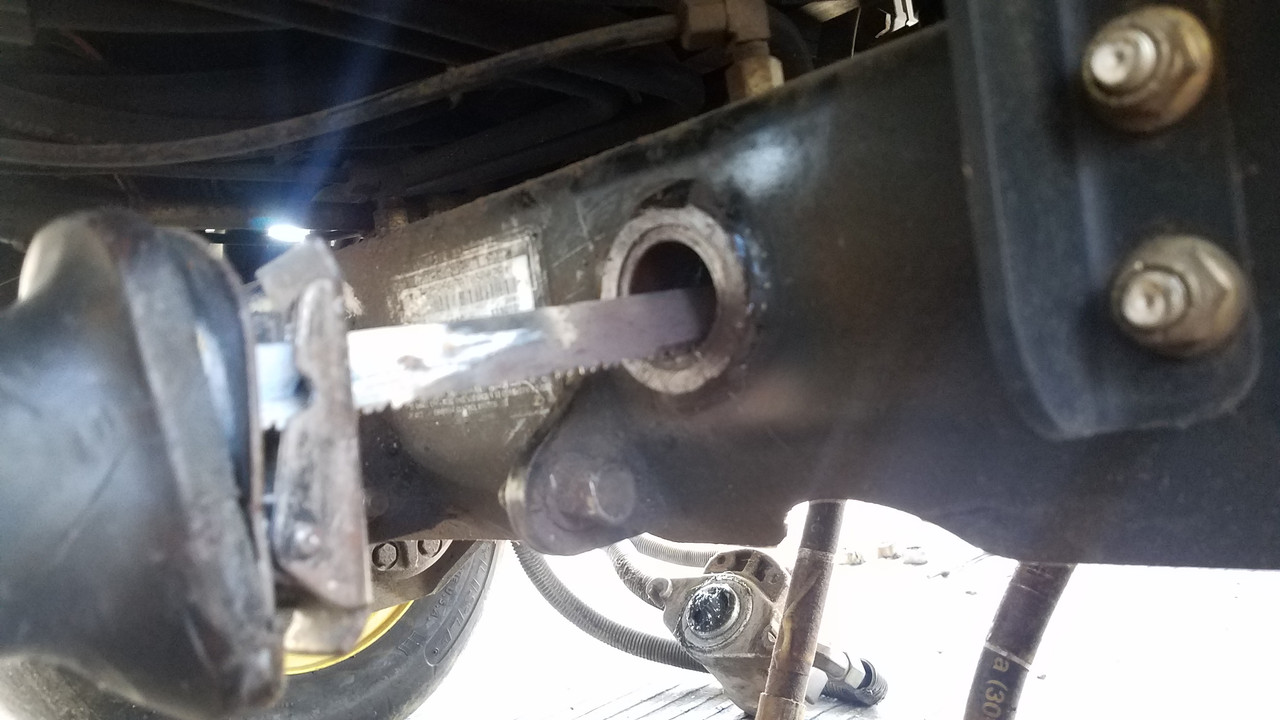
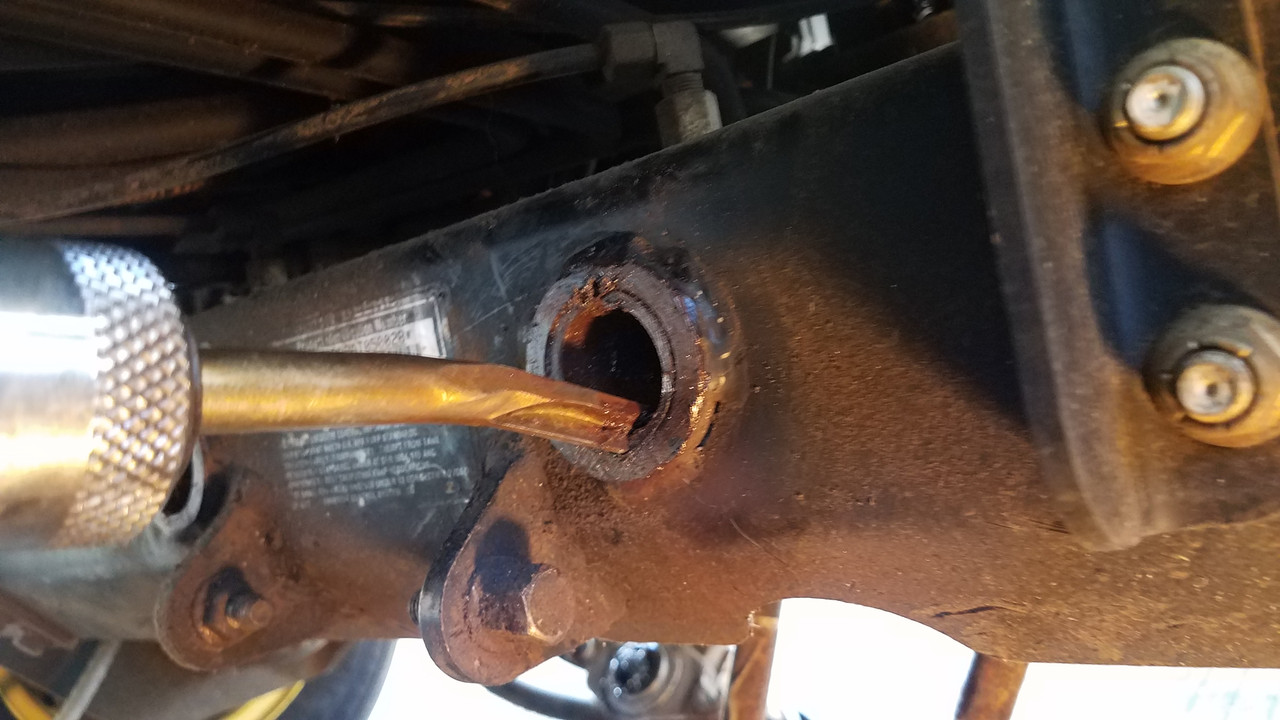
I also did some maintenance on the power rotory scissors.


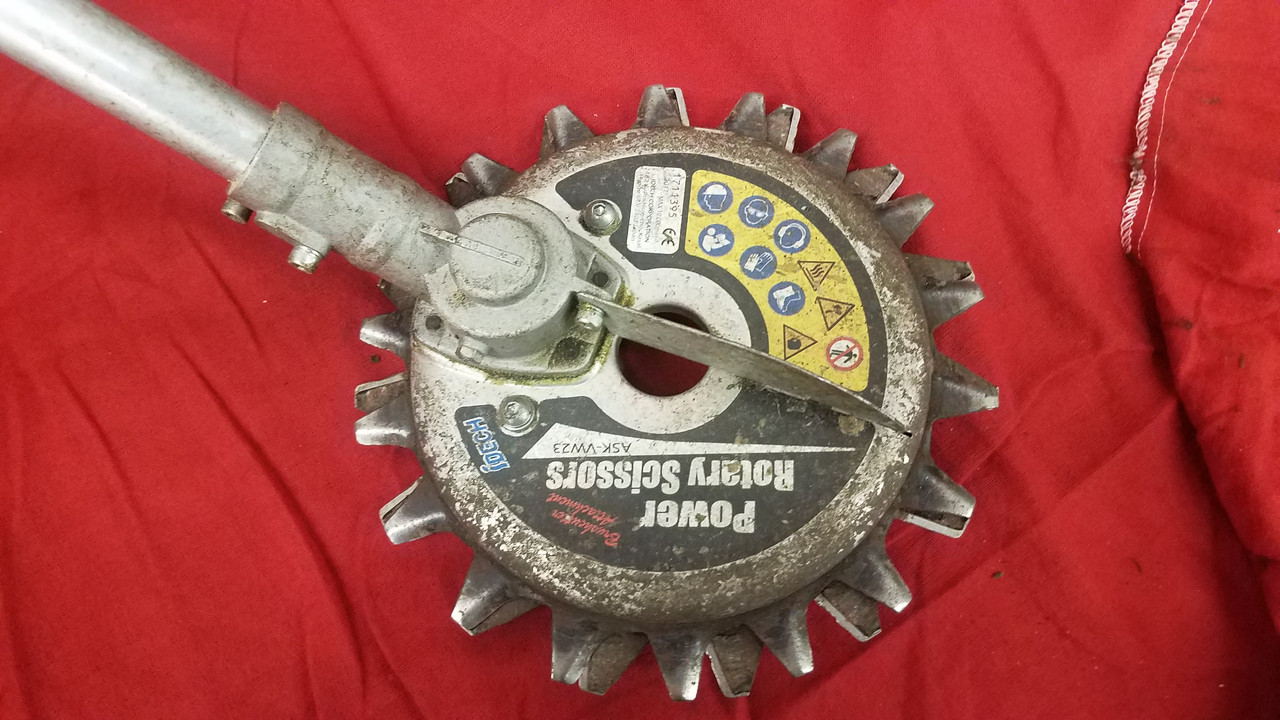
I ended up getting another set of blades, installed them, and will sharpen the old ones so they are ready when it is time to swap them out. I also greased the cutting unit and took out the flex shaft in the tube and lubed it.


#16 ·
@Chris LI, as @g-man said they give a cleaner cut, and lots of good info in the post and video he linked to. Trimming with these when you cut lower becomes more important because a slight slip with a string trimmer and you are scalping into the dirt. My favorite use for them however is during the fall cleanup of landscape beds. I like how it cuts and then just drops the clippings instead of flinging them all over the place.
 
#18 ·
Nice job Pete. The rollers look great. I've been thinking about the rollers on the 220E I got. They are pretty rusty and it's kind of annoying. Not only to look at, but the other day I pushed the mower over the concrete patio stones in my backyard and they left a rust stain where I turned the mower. I've cleaned them a bit, but there still rusty. It got me thinking about removing them and getting them coated. I could send them out to get powder coated, anodized, or ceramic coated like you would do to headers on a car. It would be less expensive than buying new rollers and new ones will probably end up the exact same soon enough. Curious what your thoughts would be on that? I know I'd have to take out the bearings and seals because of the heat from coating them, but is there any other issues you can think of that would come from coating them?
 
#19 ·
@SNOWBOB11, issues that come to mind with coating them would be the possibility of rolling over concrete or mowing in general would wear the coating away. I would wait to do anything to the rollers until you try a morning mow with a heavy dew. Not when the soil is soft, but just dew. You will be surprised how clean the rollers and cutting unit will be after you rinse it off afterwards.
 
#21 ·
@Pete1313 That's true. I guess the coating could wear off. I will definitely give it some time and just use the mower a few times and see if the rust comes off.

Thanks for the suggestion @g-man. I scrubbed them off a bit and wiped them with wd-40 but they are still rusty. I might try the rust remover if the rust doesn't come off by itself.

Thanks guys.
 
#22 ·
Finished the rest of the equipment maintenance on Saturday. Both the 2500B and X590 got the usual filters, plugs, oil change, and re-greasing.


I had to repair the lift arms and replace the bushings on the 2500B as there was alot of play in the arms. At the end of last season, when raising the cutting heads, they would barely lift off the ground. It was a job that I am glad I have some mechanical ability as the cost for repair on something like this would make one consider against a triplex. Here are the front lift arms on the machine.


The bushings are behind here.


Here are the lift arms off of the machine. You can see where the bushing rides on the lift arm was ground down significantly. As a result the arms had to get repaired.


Quick call to my uncle and within 2 days he had them built up with weld and then taken down to the original thickness


I worked on getting the old bushings out. The back ones came out easy with a air hammer,


But the front ones need to be cut with a reciprocating saw, finished with this chisel bit, and then pried out with a screwdriver


Some pics showing the old vs. New and how the bushings were significantly ground down.


Pressing the new bushings took various combinations of adapters and a ball joint press,


And here are the new ones all pressed in.


Took the opportunity to rattle can some new JD green paint on the lift arms,


A pic of the lift arm machined surfaces all repaired, and cleaned up


Threw some grease on them and the bushing surfaces, added loctite blue to the threads that hold them in the back, reassembled, and then greased them until it came out past the bushings.


What do you think @J_nick? Once all assembled there was no play in the lift arms and they raised all the way up to their normal height.

After all that work you know what I was itching to do.. I threw the baskets on and did my first clean up mow at 7/8".


You can see in this pic some of the brown appearance that the grass had that I mentioned earlier from lack of snow cover disappeared as I brought it down.


The smooth rollers worked great on the yard, the soil was soft and I would have never attempted this cut with the grooved rollers as it would have required constant cleaning out of the grooves. Here is a pic when i was done mowing. You can see the gold coating RRproducts uses doesnt last long.


And a pic of the yard that isn't looking too bad for March.


I tried taking soil samples but was having issues getting good consistant cores, so hopefully I will get those pulled and sent out this week.